
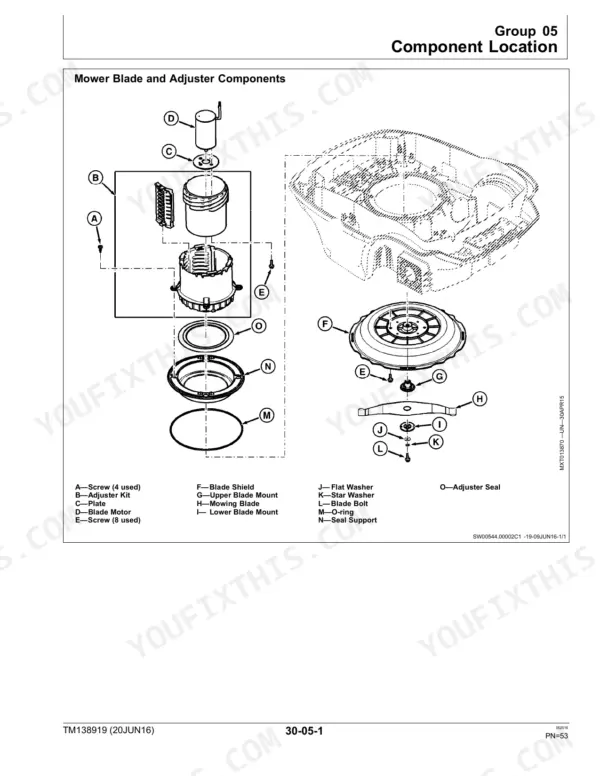
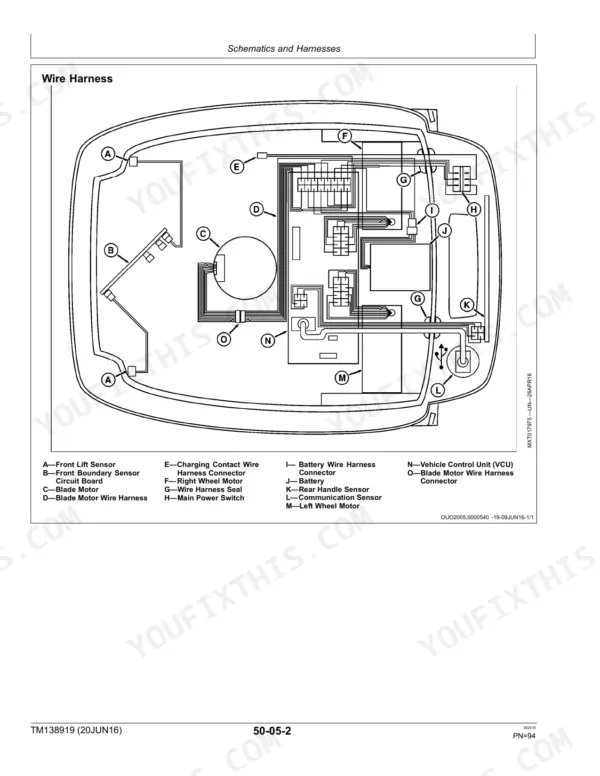
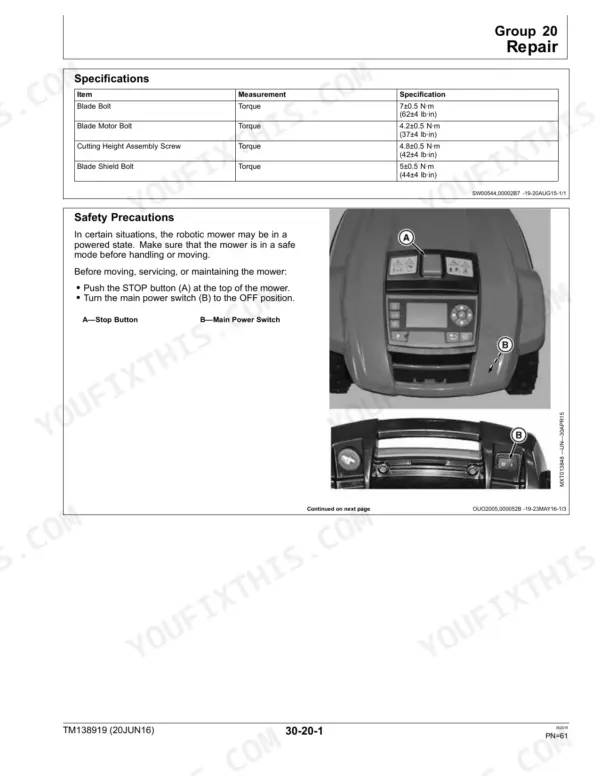
All 194 pages of this Sabo Maschinenfabrik Gmbh Tango E5 / Mowit 500F Series II Technical Manual (OEM #TM138919) focus on one machine: the robotic mower that's supposed to run itself while you do something else. Inside, you get full wiring schematics with harness routing, a fault diagnosis section with observed diagnostics for navigation and direction-change failures, and a troubleshooting system deep enough to walk you through boundary sensor tests, battery and charge circuit checks, and Mow Advisor™ Auto Test procedures. Torque the blade bolt to 7±0.5 N·m and the blade motor bolt to 4.2±0.5 N·m; confirm battery pack voltage reads between 18.5 and 29.4 V before you button anything up. Your robot is sitting in the dock instead of mowing. Get the factory answer, not a forum thread. Bookmarked and keyword-searchable. Pull it up on your tablet, walk to the machine, and start wrenching.
What's Inside This Sabo Maschinenfabrik Gmbh Tango E5, Robotic Mower Manual
| System | Pages | Key Topics |
|---|---|---|
| General Information | 5-20 | Safety (Follow Safety Instructions, Recognize Safety Information, Understand Signal Words, Replace Safety Signs, Prepare for Emergencies, Handling Batteries Safely, Prevent Battery Explosions, Use Care in Handling and Servicing Batteries, Wear Protective Clothing, Use Proper Tools, Park Machine Safely, Service Machine Properly, Work in Clean Area, Washing Machine, Illuminate Work Area Safely, Work in an Esd Safe Area, Dispose of Waste Properly, Live with Safety) |
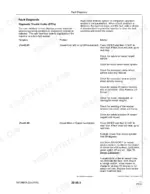
| Diagnostics | 21-50 | Fault Diagnosis, Navigation Diagnostics, Direction Change |
| Mower | 51-74 | Component Location, Theory of Operation, Tests and Adjustments, Repair |
| Drive System | 75-90 | Component Location, Theory of Operation, Repair |
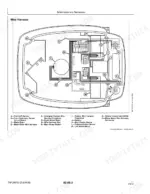
| Schematics and Harnesses | 93-98 | Ribbon Harness, Wire Harness, Cover Wire and Ribbon Harness, Charging Station Wire Harness, Mower Components, Charging Station Components |
| Theory of Operation | 99-102 | Autonomous Control, Boundary Sensor, Charging Station, Mow Advisor, Lift Sensor, Mower Log, Power Supply, Rear Handle Sensor |
| Tests and Adjustments | 103-111 | Stop Button, Main Power Switch, Rear Handle, Battery Connector, Charging Connector, User Interface Connector, Battery Cover, Enter Button |
| Garden Settings | 112-115 | Pin Code, Screen Lock, Battery Charge, Yard Perimeter, Launch Points, Boundary Following, Keep Out Area, Corridor Docking |
| Mow Advisor™ Auto Test | 116-119 | Keep Out Perimeter, Keep Out Turns, Mow Advisor, Main Power Switch, Communication Port Cover, User Interface Screen, Agree to License Tab, Diagnostics Tab |
| Battery and Charge Circuit Test | 120-126 | Battery, Charge Circuit, Mow Advisor, Rear Handle Sensor, Blade Motor |
| Boundary Sensor Tests | 127-136 | Boundary Wire, Guide Loop, Wheel Motor, Lift Sensor, Tilt Sensor |
| User Interface Switch Tests | 137-172 | Tilt Sensor, Mow Advisor, Main Power Switch, Communication Port Cover, User Interface Screen, Diagnostics Tab, Hardware Tab, Display Tab |
| Seasonal Services | 173-194 | Post Season Services, Post Season Checks and Procedures, Off Season Services, Pre Season Services |
Quick Reference Specifications
| Specification | Value | Page |
|---|---|---|
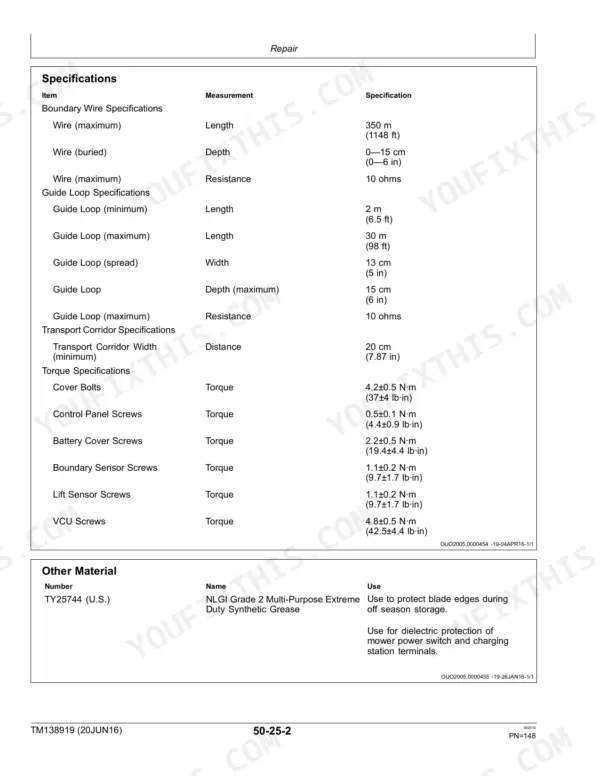
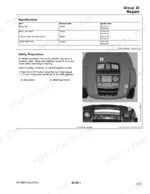
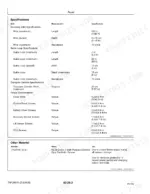
| Blade Bolt Torque | 7±0.5 N·m (62±4 lb·in) | p. 61 |
| Blade Motor Bolt Torque | 4.2±0.5 N·m (37±4 lb·in) | p. 61 |
| Battery Cover Screws Torque | 2.2±0.5 N·m (19.4±4.4 lb·in) | p. 148 |
| Normal battery pack voltage | 18.5 and 29.4 V | p. 105 |
| Flange to Motor Screw Torque | 2.3±0.5 N·m (20±4 lb·in) | p. 81 |
| Wheel Motor Flange to Frame Screws Torque | 4.8±0.5 N·m (42±4 lb·in) | p. 81 |
| Control Panel Screws Torque | 0.5±0.1 N·m (4.4±0.9 lb·in) | p. 148 |
| VCU Screws Torque | 4.8±0.5 N·m (42.5±4.4 lb·in) | p. 148 |
| Drive Wheel Nut Torque (SN 1SA1312 and 1SA1318) | 10.5 N·m | p. 81 |
| Mowing Travel Speed - High | 45 cm/sec | p. 81 |
| Boundary Wire (maximum) Length | 350 m | p. 148 |
| Boundary Wire (buried) Depth (maximum) | 15 cm | p. 148 |
Sabo Maschinenfabrik Gmbh Tango E5, Robotic Mower Common Problems This Manual Covers
Sabo Tango E5 cutting blades stop spinning after 30 minutes, mower continues driving normally
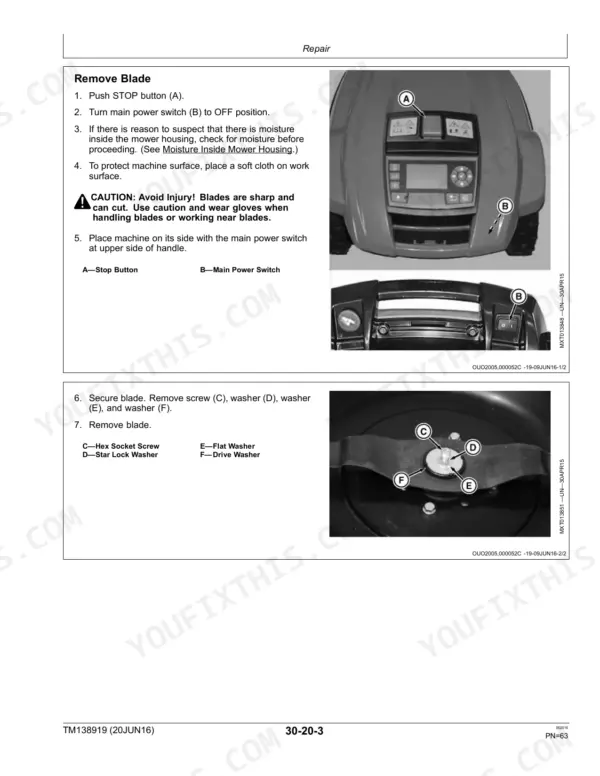
Remove the blade disk and inspect for debris jamming the motor shaft. Run the blade motor electrical test per the service procedures on page 63. If the motor runs hot after 20 minutes at normal load, replace it. Torque blade motor mounting bolts to 4.2±0.5 N·m (37±4 lb·in) and blade bolts to 7±0.5 N·m on reinstall.
Manual Section: Mower Repair p. 63Service Required error locks the display, unit charges at dock but won't resume mowing
Power the mower down completely and disconnect the battery harness for 60 seconds before reconnecting. Check fault codes on page 25 after restart. If the error returns, run the battery and charge circuit test: docked voltage should read 33-36 V at 2.5 A; anything below 28 V or above 3.5 A points to a faulty battery pack or VCU.
Manual Section: Fault Diagnosis p. 25Mower stalls or loses traction on steep slopes, frequently gets stuck mid-climb
Check drive wheel nuts for looseness first. For serial numbers 1SA1312 and 1SA1318, torque wheel nuts to 10.5±0.8 N·m (93±6 lb·in); for 1SA1112 and 1SA1118, torque to 6.8±0.5 N·m. Verify wheel motor speed per page 132: either motor reading below 37 cm/sec under load needs replacement. Clean all drive wheel treads before retesting on the slope.
Manual Section: Drive System Repair p. 81Mower ignores or crosses boundary wire, leaving the defined mowing area without stopping
Walk the full boundary perimeter looking for wire breaks, cuts, or staple damage. Verify total wire length is 350 m or less and measure guide loop resistance: it must read 10 ohms or less. Run boundary sensor fault diagnosis starting on page 25. Any buried sections should sit no deeper than 15 cm to maintain reliable signal.
Manual Section: Fault Diagnosis p. 25Battery runs down before mowing cycle completes, mower returns to dock early
Measure battery voltage with the mower undocked: a healthy pack reads 18.5-29.4 V. After a full charge cycle, check that the voltage difference between cells stays below 50 mV; larger spreads mean the pack needs replacing. Run the full battery and charge circuit test at page 105. Torque battery cover screws to 2.2±0.5 N·m on reinstall.
Manual Section: Electrical Tests and Adjustments p. 105Frequently Asked Questions
How to reset service message on Tango E5
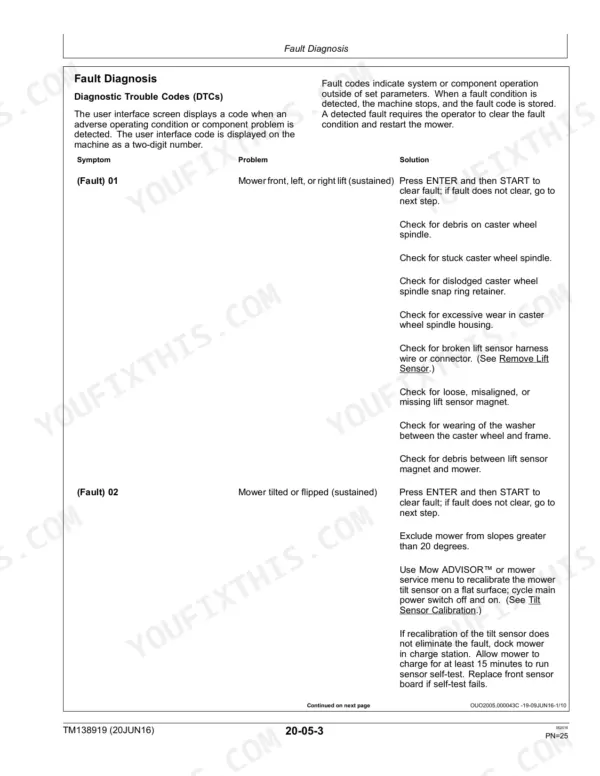
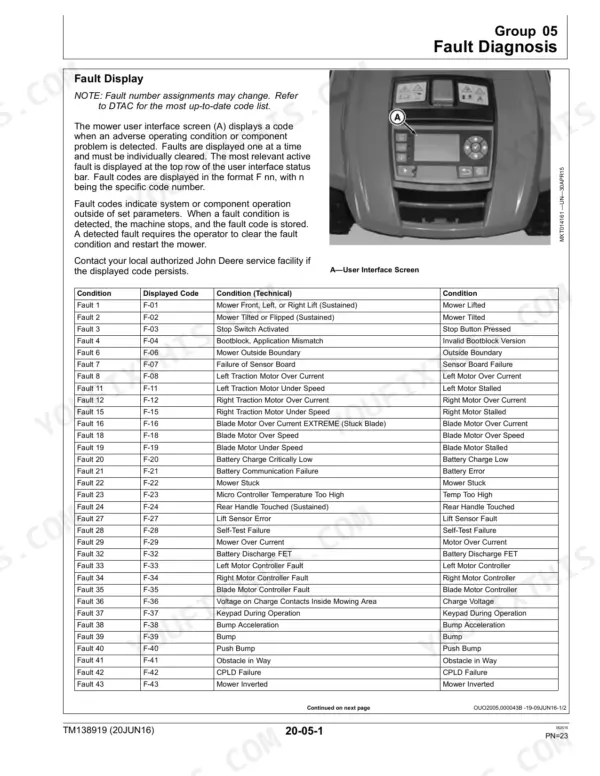
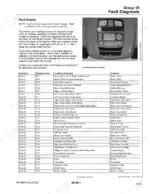
To clear a fault condition on the Tango E5, the operator needs to press ENTER and then START. This action is required to clear detected faults and restart the mower. p. 25
Torque specs for Sabo Tango E5 blade
The torque specification for the blade bolt on the Sabo Tango E5 is 7±0.5 N·m (62±4 lb·in). For the blade motor bolt, it is 4.2±0.5 N·m (37±4 lb·in), and for the blade shield bolt, it is 5±0.5 N·m (44±4 lb·in). p. 61
What are the error codes for Tango E5 Serie II
The Tango E5 Series II displays fault codes in the format F-nn on the user interface screen when an adverse operating condition or component problem is detected. Examples include F-01 for "Mower Front, Left, or Right Lift (Sustained)", F-02 for "Mower Tilted or Flipped (Sustained)", and F-16 for "Blade Motor Over Current EXTREME (Stuck Blade)". A comprehensive list of codes and their technical conditions is available in the manual. p. 23
How to disconnect battery to reset Tango E5
To disconnect the battery on the Tango E5, first open the mower cover. Immediately after opening the cover, separate the battery harness connector, the charging connector, and the user interface connector. This action is crucial for safety and to protect electronic components. p. 58
Is this Sabo Maschinenfabrik Gmbh Tango E5 manual a PDF I download?
Instant PDF download. You get the full 194-page searchable Technical Manual immediately after payment. Open it on your laptop, tablet, or phone right in the shop.
Can I print pages of this Sabo Maschinenfabrik Gmbh Tango E5 for my own shop?
Yes. Print individual pages or full chapters for your own shop use, on letter or A4 paper.
Are there wiring harness diagrams in this Sabo Maschinenfabrik Gmbh Tango E5?
Yes. You'll find an electrical wiring diagram covering the main wiring layout.
Reviews
There are no reviews yet.