
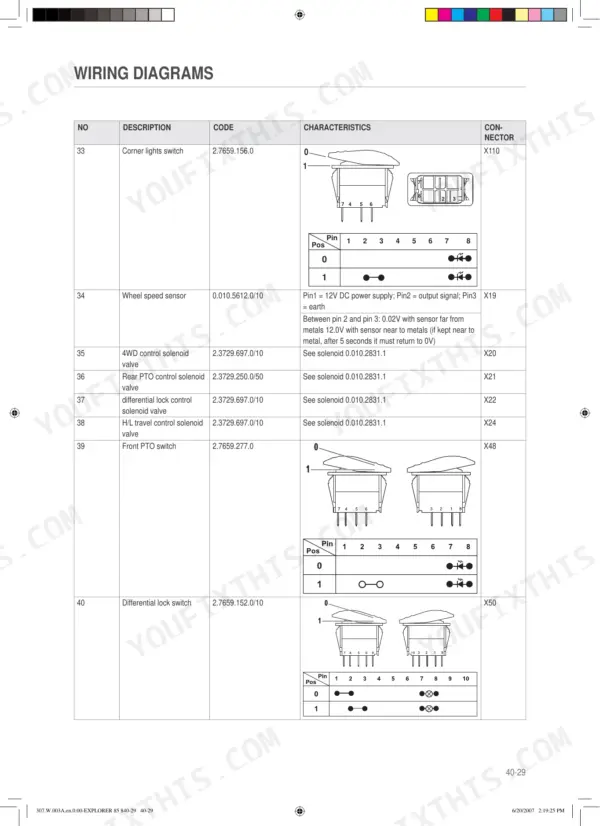
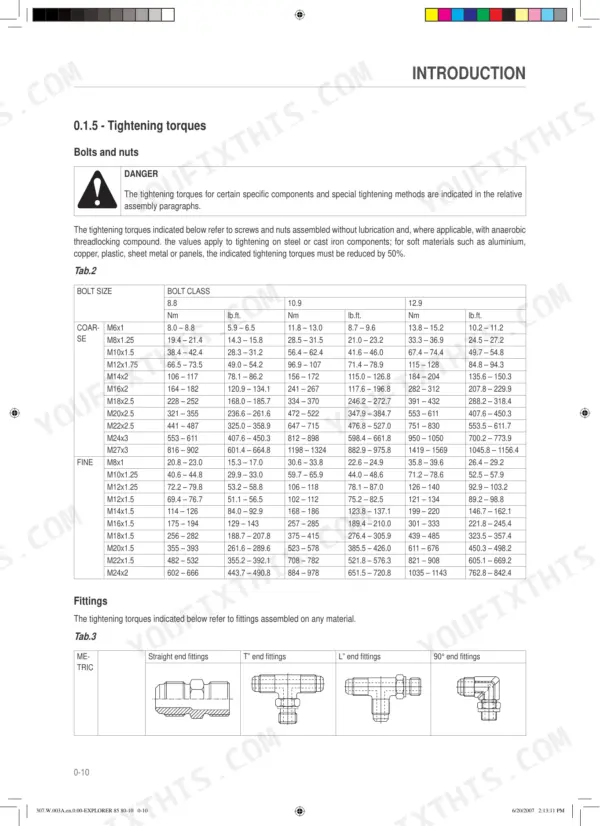
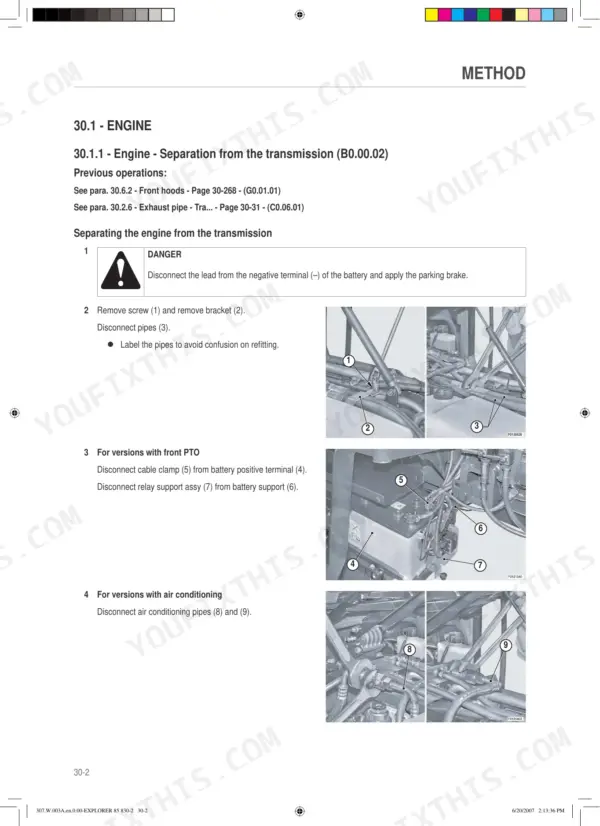
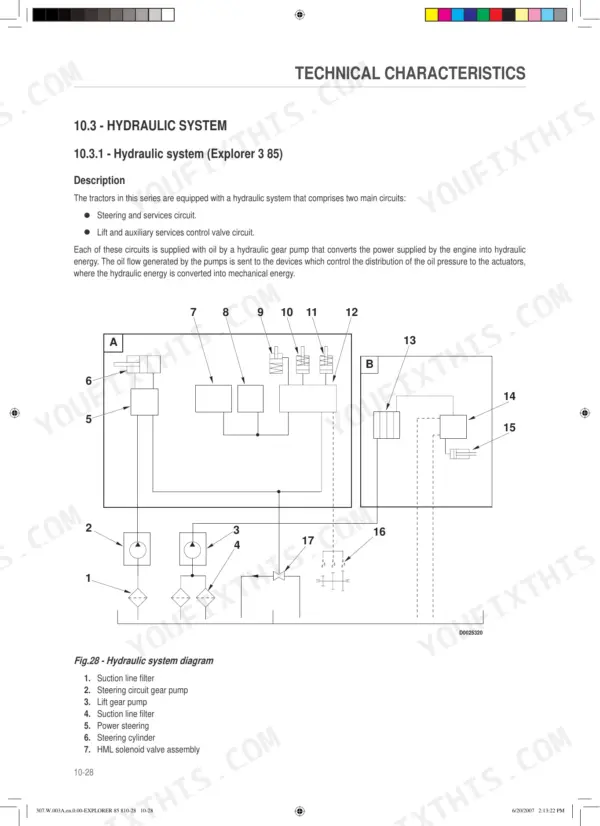
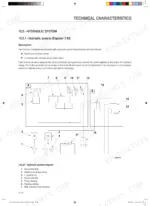
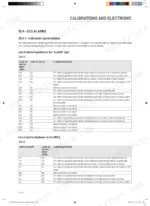
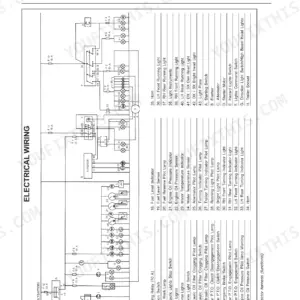
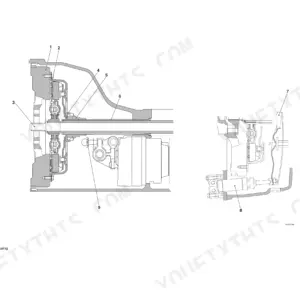
Every one of the 716 pages in this Same Explorer 3 85, Explorer 3 100 shop manual PDF (OEM 307.W.003A.en.0.00) exists to put your tractor back in the field. You get full wiring diagrams with connector positions for every loom, hydraulic schematics covering the lift and steering circuits, and step-by-step teardown procedures for the gearbox, shuttle assembly, PTO clutch, and both axles. A complete calibration and electronic diagnosis section walks you through the All Round Tester hookup and ECU alarm codes. Set the power steering relief at 150 bar and the lift cylinder relief valve at 210 bar; torque those 7/16-inch 37-degree seal fittings to 13 Nm. No more chasing wiring faults with a multimeter and a prayer. Bookmarked with a real text layer: search any spec, jump straight to the section, and get back to wrenching.
What's Inside This Same 85-100 Manual
| System | Pages | Key Topics |
|---|---|---|
| Introduction | 11-27 | Safety Notes, General Safety Rules, Safety Precautions for Removal and Refitting Operations |
| Technical Characteristics | 28-90 | Transmission (Rear PTO, And 4-Speed PTO and Groundspeed PTO), Front Axle |
| Calibrations and Electronic Diagnosis | 91-114 | Diagnostic Instrument (All Round Tester, Connecting the Tester to the Lift and Engine Control Units), Introduction to the Tractor's Electronic System |
| Engine and Engine Accessories | 115-145 | Engine Separation, Fan Belt, Radiator, Fuel Tank, Starter Motor, Exhaust Pipe |
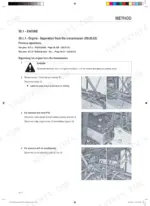
| Transmission | 146-259 | Parking Brake, Clutch Plate, Clutch Thrust Bearing, Gearbox and Shuttle Assembly, Rear Axle, Front Axle |
| Hydraulic System | 260-356 | Cab and Platform Bodywork, Hydraulic Lift, Front and Rear Lift, Trailer Braking Valve, Services Solenoid Valve |
| Front PTO and Lift | 357-403 | Front PTO Assembly, Front Lift Cylinders, Rear Lift Assembly, Mechanical Draft Sensor, 3-Point Linkage |
| Wheels and Towing Hitches | 404-444 | Front Wheels, Rear Wheels, Towing Hitch Slide, Pump Drive PTO, Clutch-Brake Assembly |
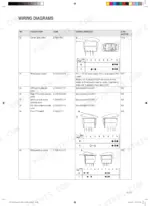
| Wiring Diagrams and Systems | 445-522 | Wiring Harness, Earthing Points, Starting and Pre-Heating, Lights Selector, Diagnostic Accessories |
| Wiring Diagrams | 523-716 | Components |
Quick Reference Specifications
| Specification | Value | Page |
|---|---|---|
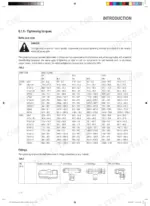
| Tightening torque for fittings with seal at 37° (7/16" - 20) | 13 Nm | p. 21 |
| Tightening torque for fittings with seal at 37° (1/2" - 20) | 19 Nm | p. 21 |
| Pressure switch - hydraulic oil filter clogging calibration pressure | 0.4 to 0.5 bar | p. 544 |
| Transmission oil filter clogging pressure switch calibration pressure | 0.4 to 0.5 bar | p. 544 |
| Steering circuit pump displacement | 14 cc/rev | p. 66 |
| Steering circuit pump max pressure | 155 bar | p. 66 |
| Lift circuit gear pump displacement | 22.5 cc/rev | p. 67 |
| Lift circuit gear pump max pressure | 190 bar | p. 67 |
| Power steering displacement | 125 cc/rev | p. 68 |
| Power steering relief valve setting | 150-155 bar | p. 68 |
| Air conditioning refrigerant quantity | 1400 g | p. 389 |
| Front wheel screw torque | 350 Nm | p. 518 |
Same 85-100 Common Problems This Manual Covers
Same Explorer 3 hydraulic lift slow or won't raise implement, gets worse as oil heats up
Check hydraulic oil level, then inspect the 25 micron suction filter screen; the clogging switch only trips at 0.4 to 0.5 bar restriction, so a partially blocked filter can hide. Tee a gauge into the lift circuit and confirm the 22.5 cc/rev gear pump builds its rated 190 bar; if pressure fades hot, overhaul the pump, procedures start on page 260.
Manual Section: Hydraulic System p. 260Steering wheel heavy to turn at low RPM, front wheels respond slowly
Verify steering circuit pressure against the 150 to 155 bar relief valve setting shown on page 68. Check for air leaks on the pump suction side and tighten any 37 degree seal fittings to 13 Nm on 7/16 inch lines. If pressure is low and no leaks appear, the 14 cc/rev steering pump is likely worn; replace it.
Manual Section: Technical Characteristics p. 68Clutch slips under load in higher gears, pedal engagement point sits near the floor
Split the tractor and measure the clutch plate; on the Explorer 3 85 the standard thickness is 8.5 mm, spec table on page 148. Replace any plate that is worn, glazed, or oil-soaked, and renew the thrust bearing while you are in there. Find and fix any rear seal leak before reassembly.
Manual Section: Transmission p. 148Transmission oil filter clogging warning light stays on after startup and will not clear
Check the alarm code reference starting on page 106 to confirm which switch is signaling. The clogging pressure switch calibration is 0.4 to 0.5 bar, listed on page 544; with cold thick oil the light can stay on briefly, that is normal. If it stays lit at operating temperature, replace the filter element and retest the switch.
Manual Section: Calibrations and Electronic Diagnosis p. 106Cab air conditioning blows warm air and the compressor cycles on and off rapidly
Test system pressures first; rapid compressor cycling usually means low charge from a slow leak. Recover the refrigerant, replace worn O-rings and the receiver drier, then pull a deep vacuum and recharge with exactly 1400 g, the quantity given on page 389. Leak-check every fitting with a detector before returning the tractor to work.
Manual Section: Hydraulic System Troubleshooting p. 389Front wheel screws work loose during transport, vibration and clicking over bumps
Torque front wheel screws to 350 Nm and rear wheel nuts to 500 Nm; the values are on pages 518 and 519. Clean mating faces of rust and paint before fitting the wheel, torque in a star pattern, and recheck after the first hour of loaded work. Replace any screw with stretched or damaged threads.
Manual Section: Wheels and Towing Hitches p. 518Frequently Asked Questions
What error codes indicate a coolant temperature sensor fault on the SAME Explorer 3 100?
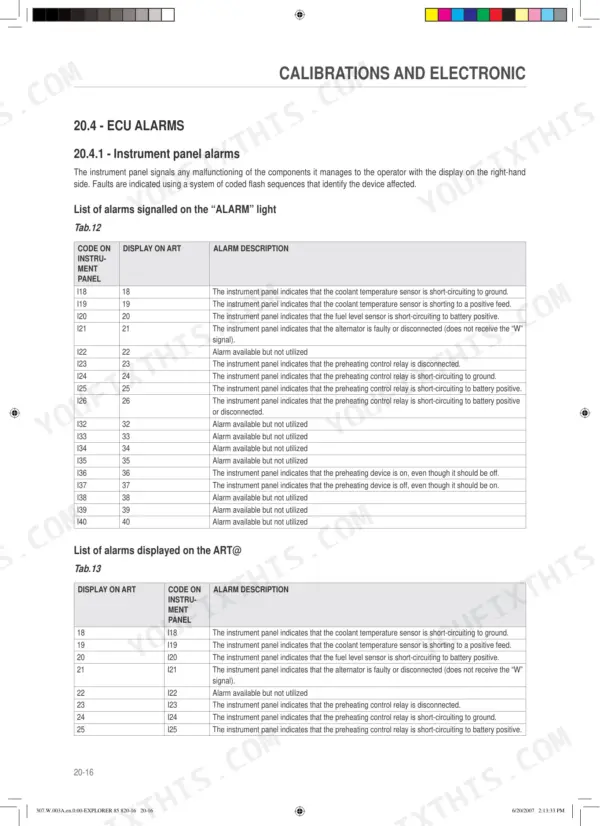
Error code I18 indicates the coolant temperature sensor is short-circuiting to ground, while error code I19 indicates it is shorting to a positive feed. These codes are displayed on the instrument panel and can be verified using the All Round Tester (ART) displaying codes 18 and 19 respectively. p. 106
What is the correct tension for the fan drive belt on the SAME Explorer 3 85?
For a used belt, the deflection should be 10-15 mm when applying a load of 10 kg. For a new belt, the deflection should be 7-9 mm. Re-adjust the tension after approximately 50 operating hours. p. 127
What is the maximum operating pressure for the steering circuit pump?
The steering circuit gear pump has a maximum operating pressure of 155 bars and a displacement of 14 cc/rev. p. 66
What is the procedure for bleeding the air from the braking system?
To bleed the braking system, attach a transparent tube to the bleed valve and collect the fluid in a container. Fully depress the brake pedal until resistance is felt, hold it, then open the bleed screw to allow fluid and air to escape. Tighten the screw before releasing the pedal, and repeat until no air bubbles remain. p. 438
What do I get after purchasing this Same Explorer 3 85 manual?
Immediate download of the complete 716-page searchable Shop Manual. Access it on any device, from a laptop at your desk to a phone in the field.
Is printing allowed for this Same Explorer 3 85 Shop Manual?
Yes. Print the pages or sections you need for your own shop use. Any standard printer works.
Does this Same Explorer 3 85 manual have electrical schematics?
Complete wiring diagrams are included, covering all electrical circuits, harness routing, and connector pinouts for the Same Explorer 3 85, 3 100.

Reviews
There are no reviews yet.