
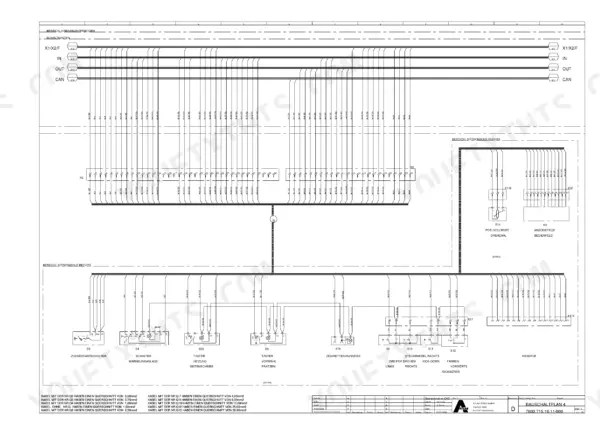
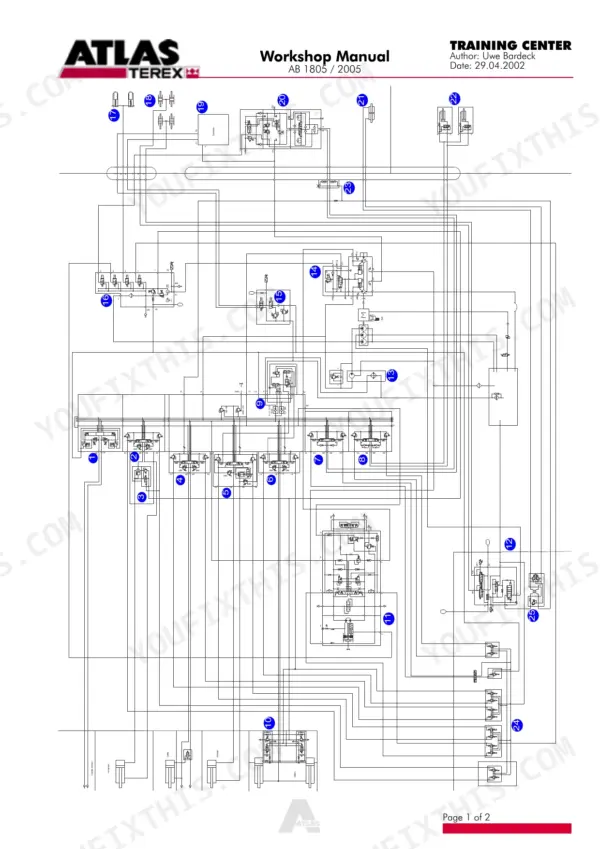
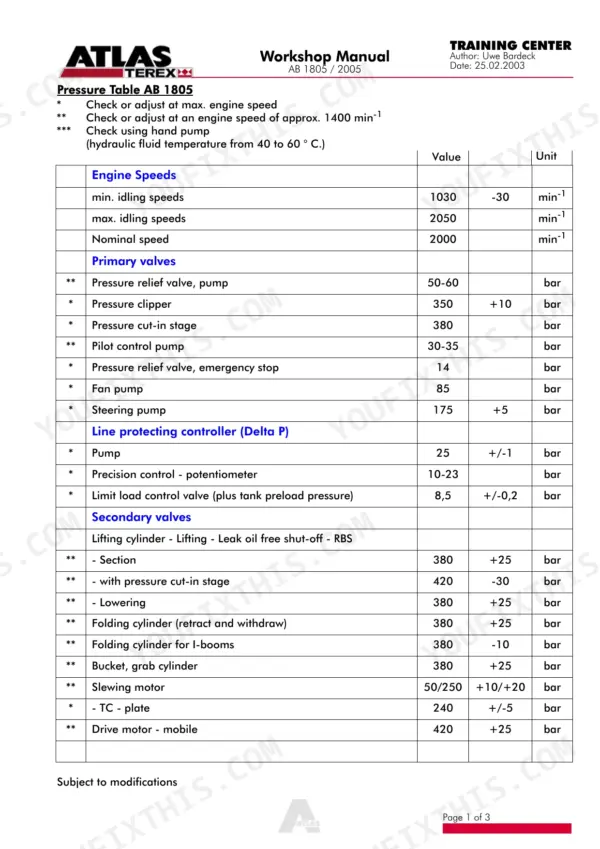
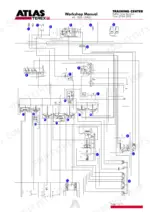
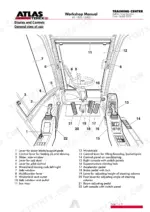
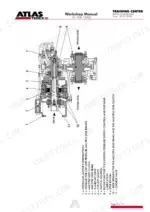
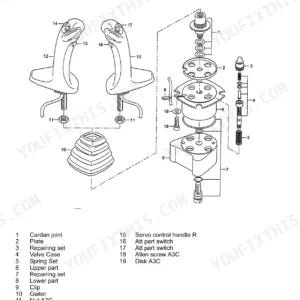
Getting an 1805 or 2005 excavator back to factory pressures is the job the 205 pages of this Atlas 1805, 2005 service manual PDF (OEM ID 6050207) are built around. Electric circuit diagrams take up a solid block of the book, tracing the Deutz EMR engine controls and the controller input and output allocation, while the hydraulic schematic maps pump, pilot control and control block routing to the test points where your gauge goes. Separate pressure tables for the 1805 and 2005 sit beside chapters on the variable capacity pump, slewing gear drive, powershift gearbox, air conditioning and the pipe rupture safeguard. Set inlet valve clearance on the BFM 1012/1013 to 0.3 mm, and check the slewing motor at 50/250 +10/+20 bar before you sign off the swing. Swing relief set from the wrong chart costs a shift. Chapter bookmarks and a searchable text layer land you on the right pressure table or circuit diagram fast.
What's Inside This Atlas 1805, 2005 Manual
| System | Pages | Key Topics |
|---|---|---|
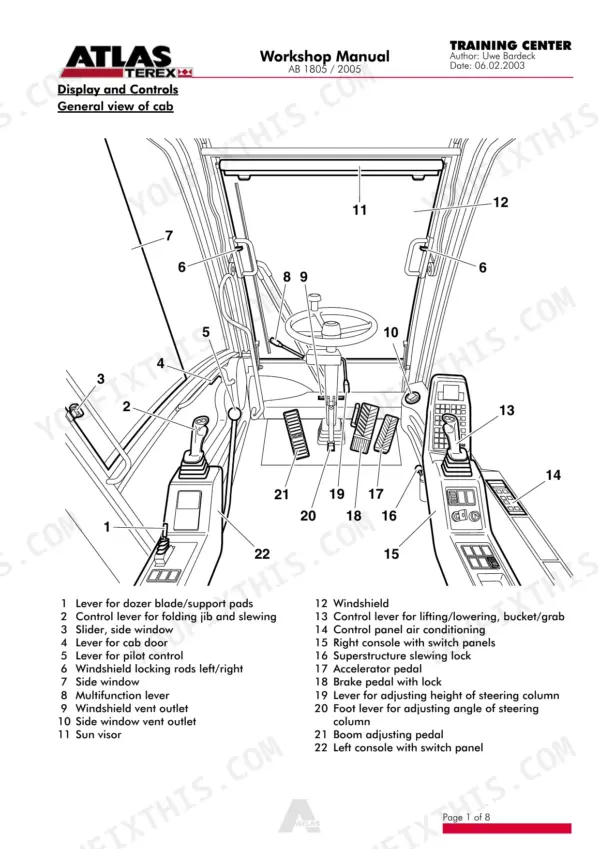
| Displays and Controls | 4-12 | General View of Cab, AEM Control Panel |
| Engine | 13-29 | Deutz EMR System, Valve Setting |
| Pumps | 30-45 | Variable Capacity Pump, Functional Description |
| Pilot Control Equipment | 46-48 | Hydraulic Pilot Control |
| Control Block | 49-54 | Union and Test Points |
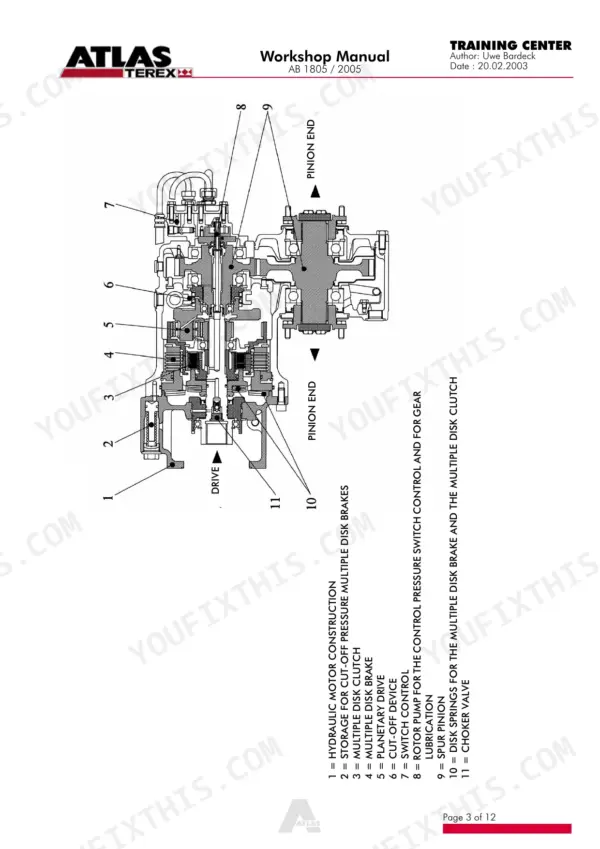
| Slewing Gear Drive | 55-69 | Integrated Construction, Basic Structure |
| Pressure Settings Table | 70-76 | Pressure Table AB 1805, Pressure Table AB 2005 |
| Cylinder/S | 77-84 | Blocking Cylinder, Cylinder Components |
| Hydraulics Accessories | 85-101 | Pipe Rupture Safeguard, Support Pads |
| Air Conditioning | 102-114 | System Technical Data, Maintenance and Safety |
| Powershift Gearbox | 115-127 | Gear Structure, Technical Data |
| Electrics | 128-151 | System Description, Input and Output Allocation |
| Electric Circuit Diagrams | 152-190 | Wiring Diagrams |
| Hydraulic Circuit Diagrams | 191-193 | Hydraulics Schematic |
| Maintenance | 194-197 | Filling Capacities, Maintenance Schedule |
| Miscellaneous | 198-205 | Welded Assemblies, Repair Sequence |
Quick Reference Specifications
| Specification | Value | Page |
|---|---|---|
| All Models | ||
| Permissible interior pressure of housing | 1.5 bar | p. 35 |
| Control pressure connection for emergency activation | max. 30 bar | p. 32 |
| Tank connection (T) leak oil and rinse oil runback | max. 1,5 bar | p. 58 |
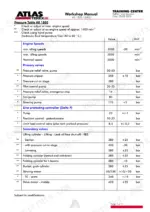
| Slewing motor | 50/250 +10/+20 bar | p. 71 |
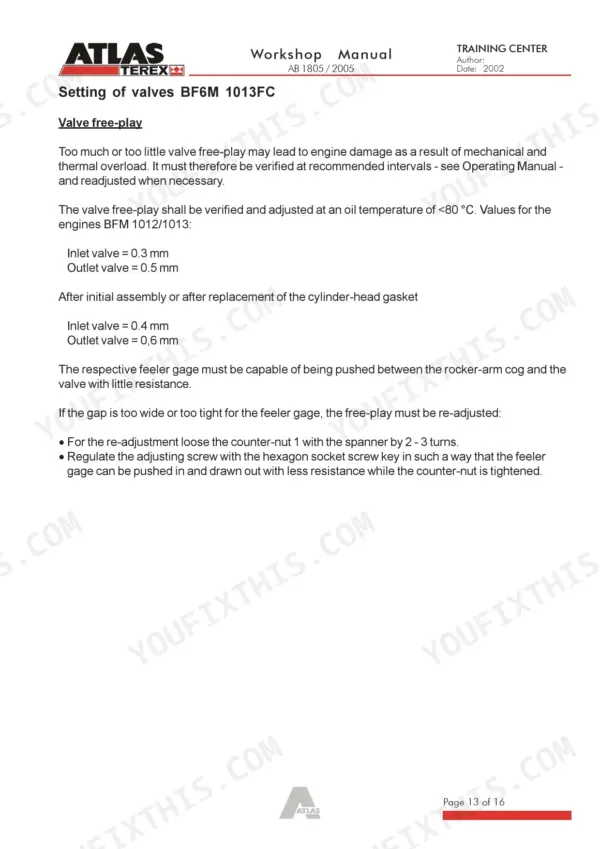
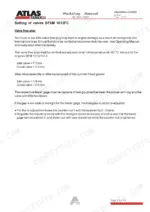
| Inlet valve clearance (BFM 1012/1013) | 0.3 mm | p. 26 |
| Outlet valve clearance (BFM 1012/1013) | 0.5 mm | p. 26 |
| Permissible interior pressure of pump housing | 1.5 bar | p. 35 |
| Engine nominal speed | 2000 min-1 | p. 71 |
| Preheating temperature for S355 J2G3 (>20mm) | 120 °C | p. 201 |
| 1805 | ||
| Pressure relief valve, pump (AB 1805) | 50-60 bar | p. 71 |
| 2005 | ||
| Pressure relief valve, pump (AB 2005) | 50-60 bar | p. 74 |
Atlas 1805, 2005 Common Problems This Manual Covers
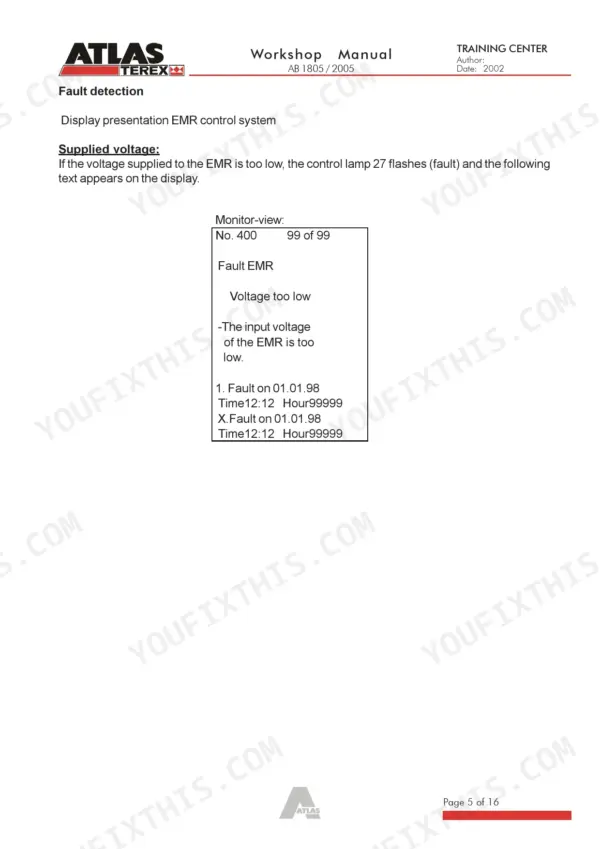
Atlas 1805/2005 Deutz EMR engine cutting out with speed sensor, oil pressure or coolant sensor fault
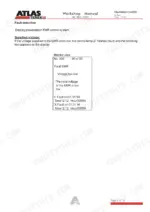
Check supply voltage first using the EMR fault detection procedures on page 18. Then test the speed sensors, coolant sensor, temperature sensor, oil pressure and air pressure sensors, and the actuator one at a time. Look for EEPROM or memory faults last, and find the root cause before restarting after an engine cut-out.
Manual Section: Deutz EMR System Fault Detection p. 18Deutz BFM 1012/1013 engine valve free-play drifted out of adjustment at the inlet and outlet valves
Measure valve free-play on each cylinder following the setting procedure on page 26. Set the inlet valve to 0.3 mm and the outlet valve to 0.5 mm. Loosen the counter-nut, turn the adjustment screw to the correct gap, then hold the screw and retighten the counter-nut. Recheck clearance after locking it down.
Manual Section: Engine Valve Setting p. 26Engine fuel pressure out of spec when measured at the pressure maintenance valves
Measure fuel pressure using the Engine Fuel Pressure procedure at the end of the engine section. Test the pressure maintenance valves as that procedure directs, and service any valve that fails to hold pressure. Take a second reading after the repair and confirm it before putting the machine back to work.
Manual Section: Engine Fuel PressureCab air conditioning not cooling enough, with compressor noise or V-belt noise
Inspect the V-belt first if the noise comes from the belt drive. Work through the air conditioning error diagnosis for insufficient cooling, compressor noise and a system that will not cool. Review the system technical data and the maintenance and safety instructions starting on page 102 before you open up the system.
Manual Section: Air Conditioning p. 102Powershift gearbox not shifting gears, running hot, or scraping from the clutch and brake
Check the gearbox oil level first; the fault finding lists oil level alongside shifting and temperature faults. Then work through the powershift gearbox fault finding for vehicle movement, gear shifting, noise and clutch or brake scraping. Review the gear structure and technical data starting on page 115 before pulling the gearbox apart.
Manual Section: Powershift Gearbox p. 115Visible crack running through a welded assembly on the excavator steel structure
Evaluate the damage and trace the full course of the crack before you start. Preheat S355 J2G3 steel thicker than 20 mm to 120 °C as listed on page 201, then follow the welding sequence in the welded assemblies repair procedure. Finish with the follow-up work the procedure calls for before the machine goes back to work.
Manual Section: Welded Assemblies Repair p. 201Frequently Asked Questions
What does error code 400 on the EMR control system mean on the Terex Atlas 1805, 2005 excavator?
Error code 400 indicates that the input voltage of the EMR is too low. This fault is displayed on the monitor and the control lamp 27 will flash. p. 18
What is the valve free-play specification for the Deutz BFM 1012/1013 engine in the Terex Atlas 1805, 2005 excavator?
For engines with an oil temperature below 80 °C, the inlet valve free-play should be 0.3 mm and the outlet valve free-play should be 0.5 mm. p. 26
What is the minimum fuel pressure at idle for the BF6 M 1013FC engine on the Terex Atlas 1805, 2005 excavator?
For a system with 5.0 bar pressure maintenance valves, the fuel pressure should be at least 4.2 bars within a rotary speed range between 1500 min-1 and 1900 min-1. p. 29
What is the tightening torque for the check-valve cylinder-head screws on the swinging axle cylinder of the Terex Atlas 1805, 2005?
The tightening torque for the cylinder-head screws (pos. 9) is 16 Nm. Only screws with a tensile strength of 12.9 should be used. p. 101
What is the total hydraulic fluid tank capacity for the Terex Atlas 1805, 2005 excavator?
The hydraulic fluid tank has a total capacity of 220.0 litres. p. 195
How quickly can I access this Terex Atlas 1805 manual after buying?
A single searchable PDF file of 205 pages, downloadable right after payment. Nothing ships, nothing waits in the mail.
Does this Terex Atlas 1805 manual allow printing?
No restrictions at all. Print individual pages, full chapters, or the entire manual. The PDF is completely unlocked.



Reviews
There are no reviews yet.