
Part of the Hitachi Repair Manuals.
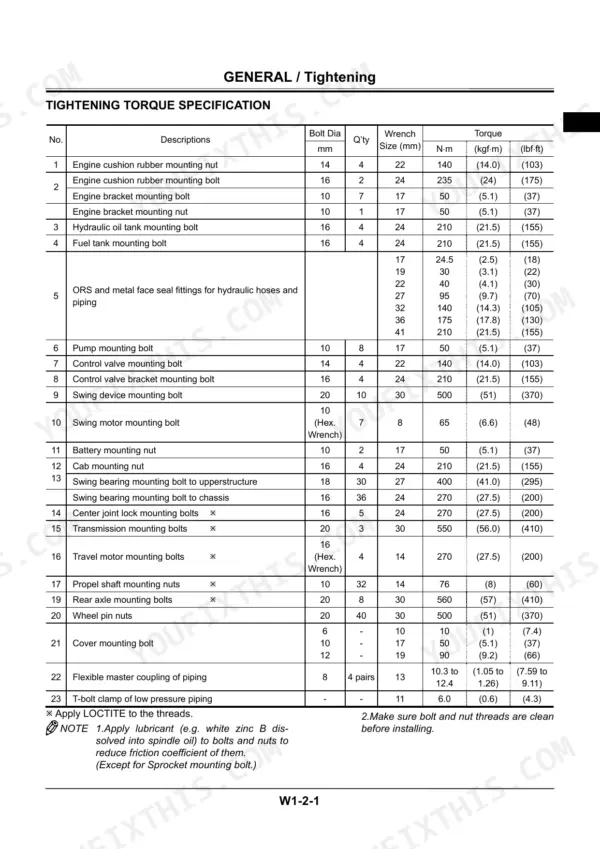
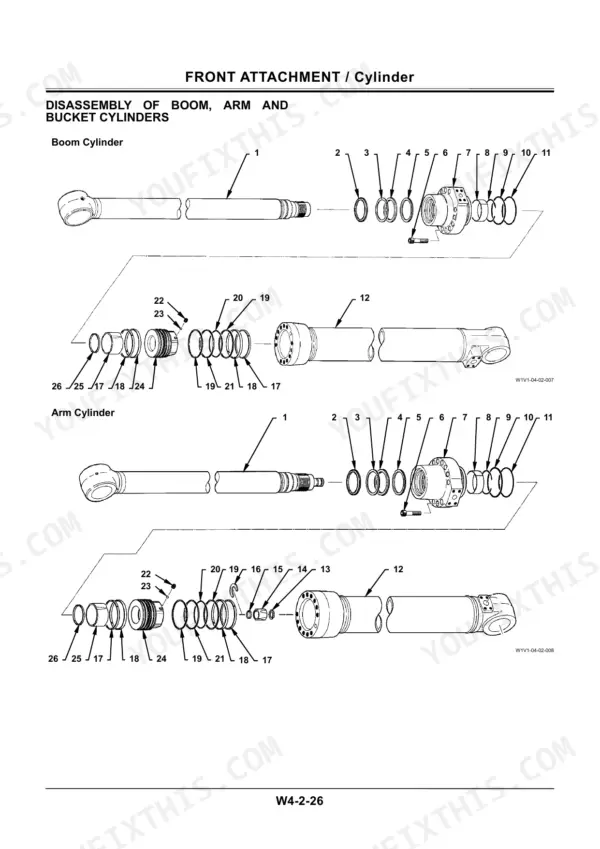
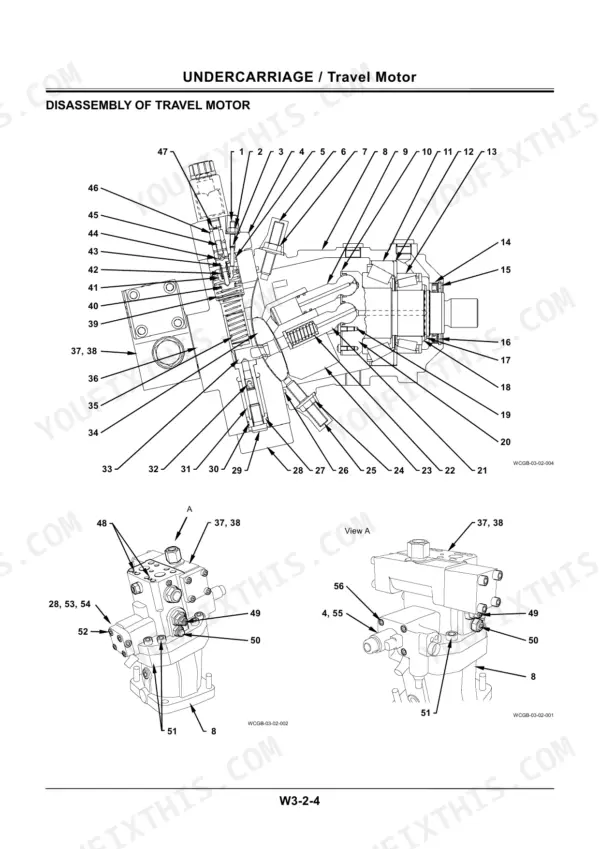
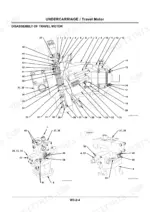
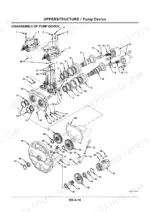
Matched to the wheeled ZX140W-3 hydraulic excavator, this Hitachi ZX140W-3 workshop manual PDF carries factory document number WCEB-E-00 across 602 pages of removal, disassembly and assembly work. Undercarriage repair fills about a quarter of the book, taking the swing bearing, travel motor, center joint, transmission, axles, axle lock cylinder and propeller shaft apart and back together. Above the turntable, the pump and regulator rebuild sits beside the 4-spool and 5-spool control valves, the swing motor, and the steering and brake valves only a wheeled machine carries; boom and arm cylinders and hose rupture valves close it out. Replace the fuel, oil filter and heater hoses every 2 years, and torque the engine cushion rubber mounting bolts to 235 N·m (175 lbf·ft). Nobody wants to split a brake valve twice. Bookmarks and a searchable text layer let you confirm the disassembly sequence before ordering, so the seal kit you buy matches your unit the first time.
What's Inside This Hitachi ZX140W-3 Manual
| System | Pages | Key Topics |
|---|---|---|
| Introduction | 3-4 | Additional References, Manual Composition, Page Numbering, Safety Alert Symbols, Unit Conversion |
| Safety | 5-34 | Emergency Procedures, Protective Clothing, Cab Safety, Machine Inspection, Fire Prevention, Maintenance Safety |
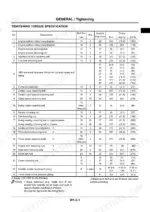
| General Information | 35-64 | Precautions for Disassembling and Assembling, Tightening, Painting, Bleeding Air From Hydraulic Oil Tank |
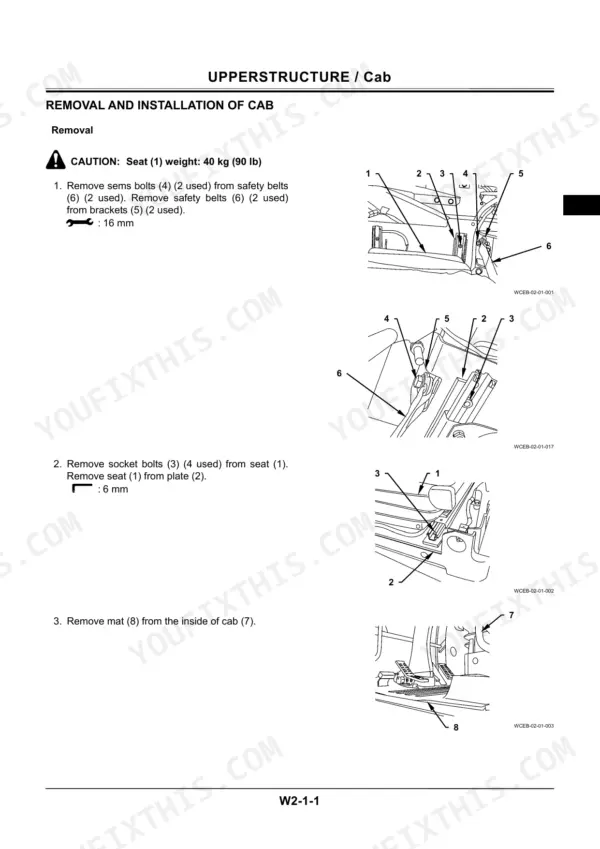
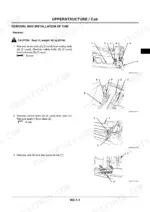
| Cab and Counterweight | 65-96 | Cab Removal and Installation, Counterweight Removal and Installation, Main Frame Removal and Installation |
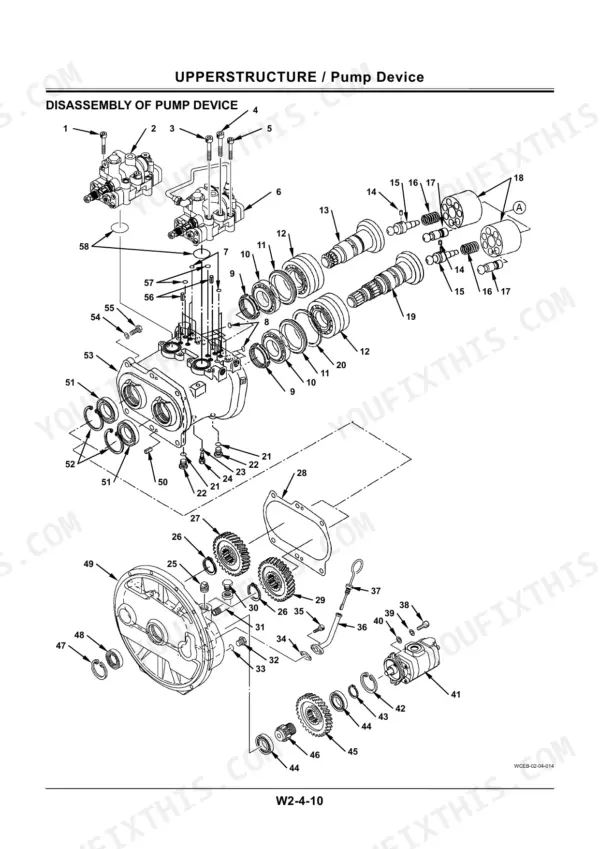
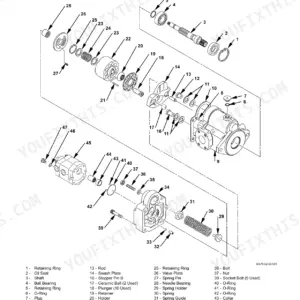
| Pump Device | 97-148 | Pump Device Removal and Installation, Disassembly of Pump Device, Assembly of Pump Device, Disassembly of Regulator, Assembly of Regulator, Structure of Pilot Pump |
| Control Valve | 149-196 | Control Valve Removal and Installation, Disassembly of 4-Spool Control Valve, Disassembly of 5-Spool Control Valve, Assembly of Control Valve, Positioning Control Valve |
| Swing Device | 197-234 | Swing Device Removal and Installation, Disassembly of Swing Device, Assembly of Swing Device, Disassembly of Swing Motor, Assembly of Swing Motor, Swing Dampener Valve |
| Pilot Valve | 235-274 | Pilot Valve Removal and Installation, Disassembly of Front/Swing Pilot Valves, Assembly of Front/Swing Pilot Valves, Electric Lever Removal and Installation |
| Signal Control Valve and Solenoid Valve | 275-312 | Signal Control Valve Removal and Installation, Solenoid Valve Unit Removal and Installation, Pilot Shut-Off Solenoid Valve, Structure of Signal Control Valve |
| Steering and Brake Valves | 313-340 | Steering Valve Removal and Installation, Brake Valve Removal and Installation, Disassembly of Brake Valve, Assembly of Brake Valve, Accumulator Charge Valve |
| Undercarriage | 341-498 | Group 1 Swing Bearing, Group 2 Travel Motor, Group 3 Center Joint, Group 4 Transmission, Group 5 Axle, Group 6 Axle Lock Cylinder, Group 7 Operate Check Valve |
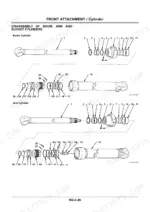
| Front Attachment | 499-602 | Cylinder, Hose Rupture Valve, Operate Check Valve |
Quick Reference Specifications
| Specification | Value | Page |
|---|---|---|
| ORS and metal face seal fittings for hydraulic hoses and piping (17 mm) | 24.5 N·m | p. 51 |
| ORS and metal face seal fittings for hydraulic hoses and piping (19 mm) | 30 N·m | p. 47 |
| Pressure sensor (68) removal tool size | 27 mm | p. 115 |
| Engine cushion rubber mounting nut torque | 140 N·m (14.0 kgf·m, 103 lbf·ft) | p. 47 |
| Engine cushion rubber mounting bolt torque | 235 N·m (24 kgf·m, 175 lbf·ft) | p. 47 |
| Hydraulic oil tank mounting bolt torque | 210 N·m (21.5 kgf·m, 155 lbf·ft) | p. 47 |
| Fuel tank mounting bolt torque | 210 N·m (21.5 kgf·m, 155 lbf·ft) | p. 47 |
| Swing device mounting bolt torque | 500 N·m (51 kgf·m, 370 lbf·ft) | p. 47 |
| Cab mounting nut torque | 210 N·m (21.5 kgf·m, 155 lbf·ft) | p. 47 |
| Swing bearing mounting bolt to upperstructure torque | 400 N·m (41.0 kgf·m, 295 lbf·ft) | p. 47 |
| Swing bearing mounting bolt to chassis torque | 270 N·m (27.5 kgf·m, 200 lbf·ft) | p. 47 |
| Transmission mounting bolts torque | 550 N·m (56.0 kgf·m, 410 lbf·ft) | p. 47 |
Hitachi ZX140W-3 Common Problems This Manual Covers
Hitachi ZX140W-3 hydraulic oil tank still pressurized, oil sprays out when loosening lines or fittings
Release pressure from the hydraulic oil tank and bleed the air before cracking any line. Then run the hydraulic circuit pressure release procedure for the cylinders, swing motor and travel motor. Do not trust a shut-down engine alone; trapped pressure stays in the circuits until you relieve it.
Manual Section: Bleeding Air from Hydraulic Oil Tankair trapped in hydraulic pump, travel motor or swing motor after component removal and installation
Bleed air from the hydraulic pump, travel motor, swing motor and hydraulic circuit after any of them has been opened or replaced. Release tank pressure and bleed the hydraulic oil tank before you start. Finish the full bleed before the crew puts the machine back to work.
Manual Section: Bleeding Air from Hydraulic SystemORS hydraulic hose fittings weeping oil at boom, arm or bucket cylinder lines
Release circuit pressure, then torque 17 mm ORS and metal face seal fittings to 24.5 N·m following page 51, and 19 mm fittings to 30 N·m per page 47. Replace boom, arm and bucket cylinder line hoses every 2 years per page 55, leaking or not.
Manual Section: General Information p. 51swing bearing mounting bolts found loose at the upperstructure or chassis side
Torque swing bearing mounting bolts to 400 N·m (295 lbf·ft) on the upperstructure side and 270 N·m (200 lbf·ft) on the chassis side, following page 47. Check swing device mounting bolts at the same time against 500 N·m (370 lbf·ft). Recheck every bolt in the ring, not just the one you found loose.
Manual Section: Undercarriage p. 47pump device pressure sensor (68) suspect and needs to come out of the pump
Release hydraulic oil tank pressure before touching the sensor. Remove pressure sensor (68) from the pump device with a 27 mm wrench following page 115, keeping dirt out of the open port. After installing the new sensor, bleed air from the hydraulic pump before you put the machine back under load.
Manual Section: Pump Device p. 115floating seal leaking oil soon after the assembly was disassembled and put back together
Inspect the floating seals before reassembly and replace any damaged seal rather than reusing it. Follow the floating seal precautions in General Information when installing, and keep the seal free of dirt during assembly. Check for oil leakage again after the first run.
Manual Section: Floating Seal PrecautionsFrequently Asked Questions
How often should the engine oil filter hose be replaced on the Hitachi ZX140W-3?
The engine oil filter hose (Engine to oil filter) is listed as a periodic replacement part. It should be replaced every 2 years regardless of its apparent condition. p. 55
What is the tightening torque for the swing device mounting bolt on the Hitachi ZX140W-3?
The swing device mounting bolt requires a tightening torque of 500 N·m (51 kgf·m, 370 lbf·ft). This bolt has a diameter of 20 mm and uses a 30 mm wrench size. p. 47
How do I bleed air from the hydraulic pump?
To bleed air from the hydraulic pump, remove the air bleeding plug from the top of the pump and fill the pump housing with hydraulic oil. After filling, temporarily tighten the plug, start the engine at slow idle, and slightly loosen the plug until oil oozes out, then securely tighten it. p. 40
What is the tightening torque for the cab mounting nut on the Hitachi ZX140W-3?
The cab mounting nut, which has a bolt diameter of 16 mm, must be tightened to 210 N·m (21.5 kgf·m, 155 lbf·ft) using a 24 mm wrench. p. 47
What exactly do I receive with this Hitachi ZX140W-3 Workshop Manual?
Immediate download of the complete 602-page searchable Workshop Manual. Access it on any device, from a laptop at your desk to a phone in the field.
Can I print specific sections of this Hitachi ZX140W-3 Workshop Manual?
Yes. Print the pages or sections you need for your own shop use. Any standard printer works.
Reviews
There are no reviews yet.