
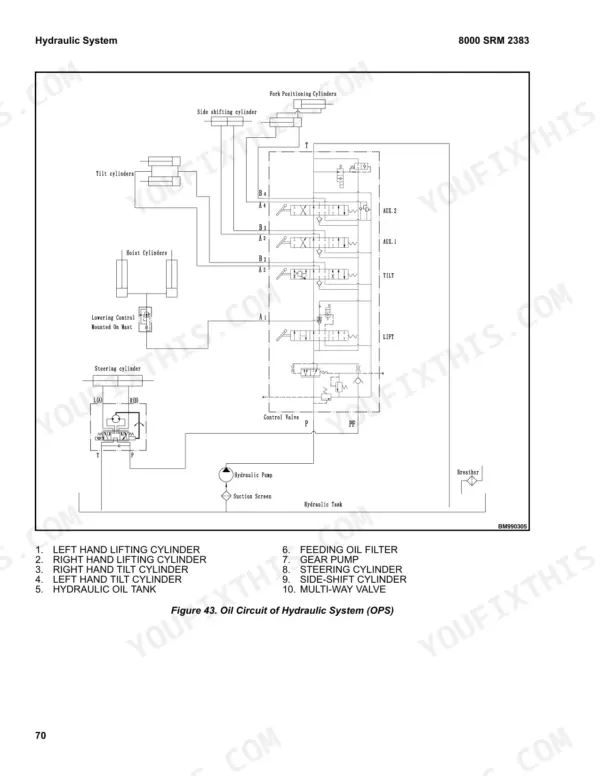
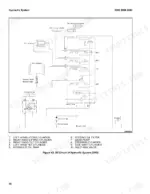
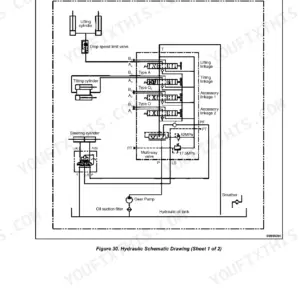
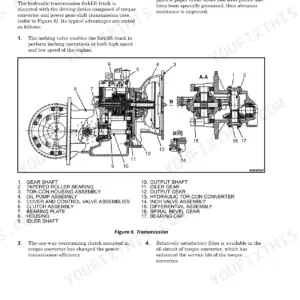
A description of the forklift truck main parts opens this 102-page Hyster F1.8UT 4WD service manual PDF (OEM ID 4322486), written for five four-wheel-drive UT forklift trucks from the F1.8UT up to the F70UT. Electrical schematics map the electrical box and battery circuits, while hydraulic schematics trace the main oil circuit from the main pump and control valve out to the lift and tilt cylinders. Troubleshooting sections cover the wheel brake, the hydraulic system and the OPS/park brake alarm, and exploded views back up transmission teardown and drive axle adjustment. Replace your engine oil filter every 600 hours or 3 months, and change the transmission oil every 1000 hours. A truck that will not start has its own entry. Bookmarks for each system and a searchable text layer put Hyster's own intervals in front of you when that filter or transmission oil change comes due.
What's Inside This Hyster F1.8UT 4WD, F2.5UT 4WD, F3.5UT 4WD Manual
| System | Pages | Key Topics |
|---|---|---|
| Forklift Truck Main Parts | 5 | Torque Converter, Speed Reducer, Speed Differential, Steering System |
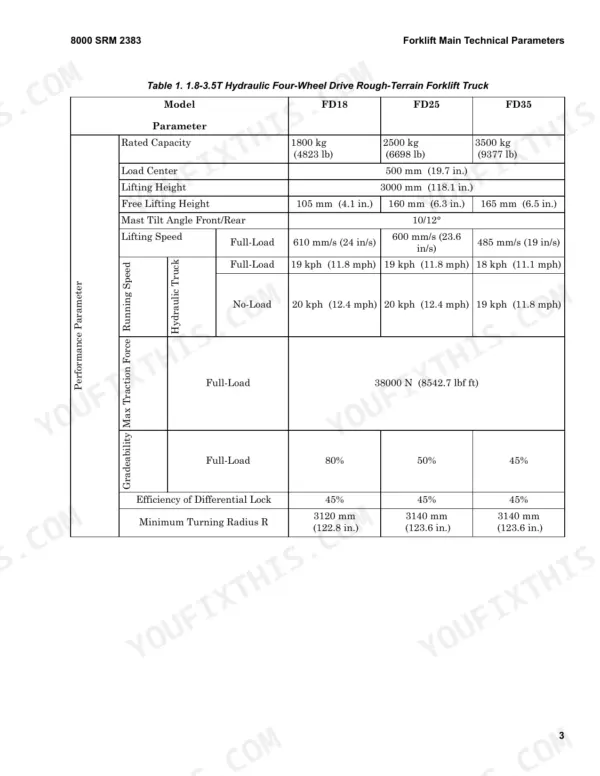
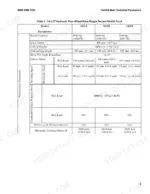
| Forklift Main Technical Parameters | 6-8 | Main Technical Parameters |
| Power System | 9-15 | Engine System (Engine Overview, Inspection, Engine Adjustment) |
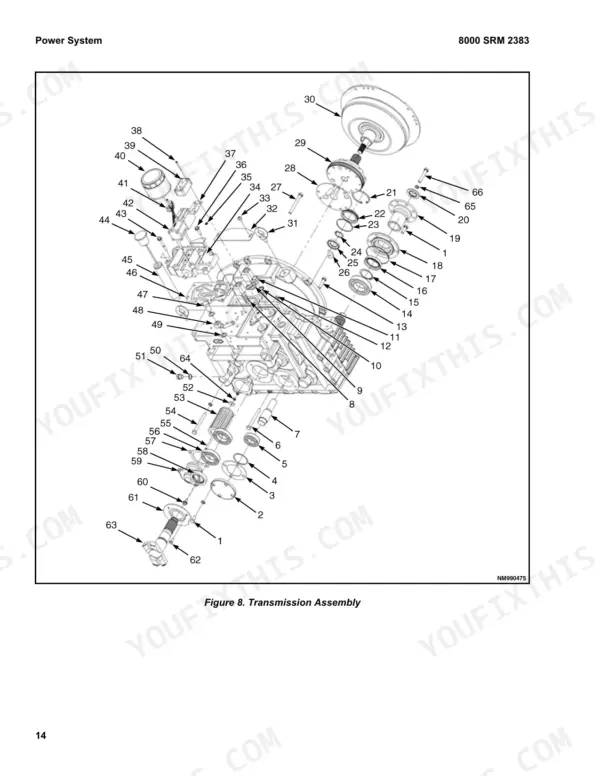
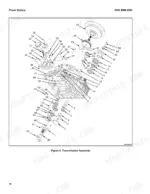
| Transmission | 16-34 | Overview |
| Drive Axle | 35-48 | Rear Steering Drive Axle (Outline Drawing, Structural Form and Characteristics, Outline Drawing and Sizes, Maintenance and Repair) |
| Steering System | 49-52 | Overview |
| Brake System | 53-63 | Overview (Brake Master Cylinder, Wheel Brake, Automatic Clearance Regulator) |
| Hydraulic System | 64-83 | Main Pump |
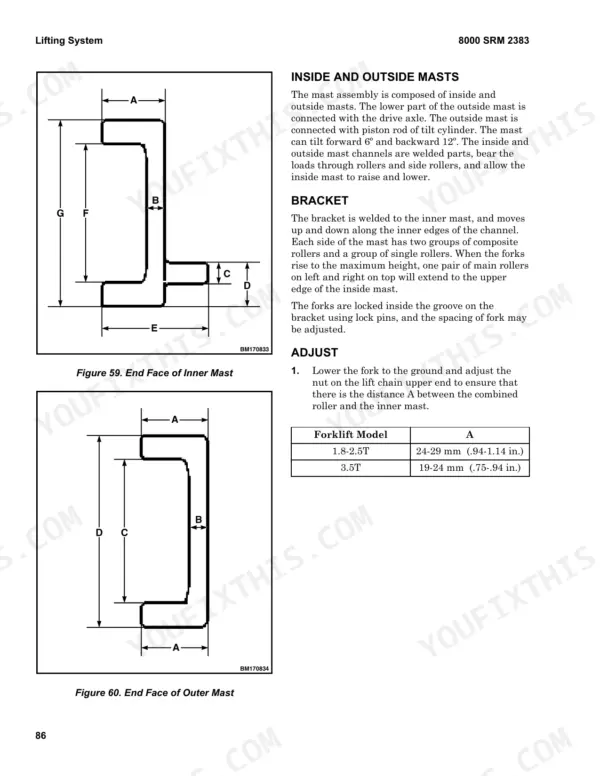
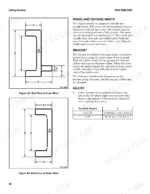
| Lifting System | 84-87 | Safety Procedures When Working Near Mast (Inside and Outside Masts, Bracket, Adjust) |
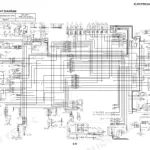
| Electrical System | 88-93 | Overview (Electrical Box, Battery, Electrical Schematics) |
| Drive, Operation, and Routine Maintenance of Forklift Truck | 94 | |
| Cooling System | 95-102 | Radiator, Coolant, Anti-Freeze Fluid, Radiator Cap, Sediment |
Quick Reference Specifications
| Specification | Value | Page |
|---|---|---|
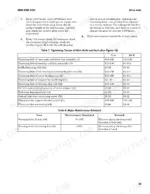
| Fuel Filter replacement interval | 2400 hours or 12 months | p. 11 |
| Engine Oil Filter replacement interval | 600 hours or 3 months | p. 11 |
| Air Filter replacement interval | 1200 hours or 6 months | p. 11 |
| Transmission oil change interval | 1000 hours | p. 17 |
| Fuel Tank Capacity | 108 liter | p. 13 |
| Main oil pressure of gearbox | 1.1 - 1.4 MPa | p. 17 |
| Torque converter oil inlet pressure | 0.4 - 0.6 MPa | p. 17 |
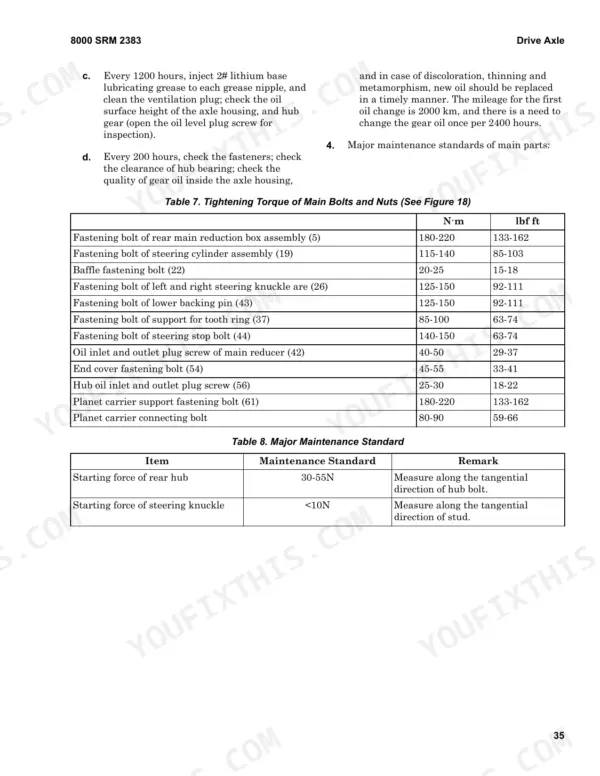
| Fastening bolt of rear main reduction box assembly (5) torque | 180-220 N·m | p. 39 |
| Fastening bolt of front main reduction box assembly (1) torque | 180-220 N·m | p. 48 |
| Brake clearance | 0.25-0.4 mm | p. 51 |
| Brake Master Cylinder Diameter | 19.05 mm | p. 57 |
| Wheel Cylinder Diameter | 28.58 mm | p. 57 |
Hyster F1.8UT 4WD, F2.5UT 4WD, F3.5UT 4WD Common Problems This Manual Covers
Hyster F1.8UT to F70UT 4WD transmission and torque converter losing efficiency with oil temperature too high
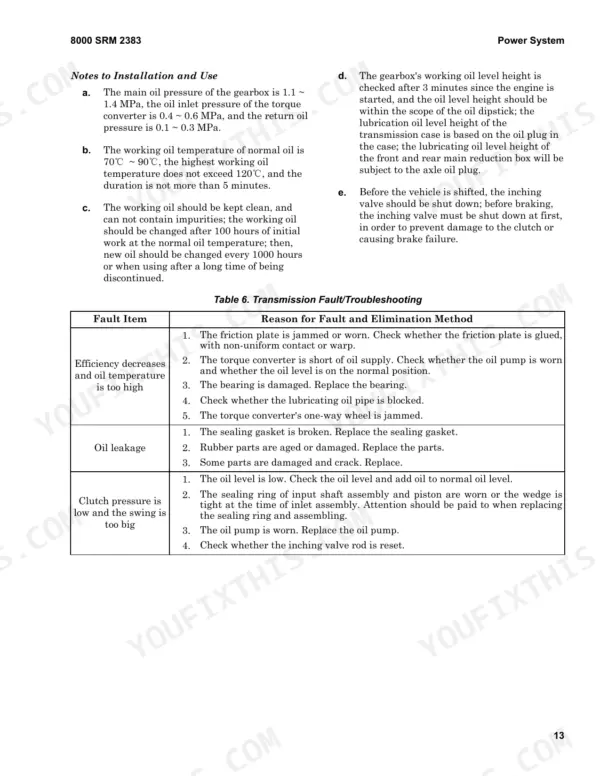
Check gearbox oil level 3 minutes after engine start; it must read within the dipstick range. Following page 17, inspect the oil pump for wear, the friction plates for gluing, uneven contact or warp, and the lubricating oil pipe for blockage. Normal working oil runs 70 to 90°C, never above 120°C for over 5 minutes. Replace a damaged bearing and check for a jammed one-way wheel.
Manual Section: Transmission Fault/Troubleshooting p. 17Engine starts but truck will not move forward or backward on hydraulic controlled shift
Test the gear switch input and output for 12V following page 96. No input: check the gear switch power supply. Input without output: the gear switch is damaged, replace it. Both present: check voltage at the directional valve; voltage there means the valve or transmission is damaged, none means broken wiring between switch and valve. Before examining the wires, turn off the key switch and battery grounding wire (page 96).
Manual Section: Troubleshoot Electrical System p. 96Lift, lowering and tilt functions all dead with the operator sitting on the seat
Check that the seat switch is closed and grounded, then confirm 12V at the electrical box output and at the solenoid valve input following page 97. Inspect each plug and insert piece for looseness, and check the electric box for a blown fuse. Before examining wiring, turn off the key switch and battery grounding wire and keep conductive accessories clear to prevent a short (page 96).
Manual Section: Troubleshoot Electrical System p. 97Front drive axle braking force not enough when the brake pedal is applied
Check the brake lines and brake master cylinder for low braking pressure, then adjust the brake ratchet wheel gap to 0.25-0.4 mm with a screwdriver as shown on page 51. Replace overheated, deteriorated or oil-soaked friction plates, replace a damaged brake pump, and tighten or replace loose brake connecting bolts following the fault table on page 52.
Manual Section: Common Faults and Elimination Methods (Front Drive Axle) p. 52Rear steering drive axle making steering operation heavy and the hub bearing feel sluggish
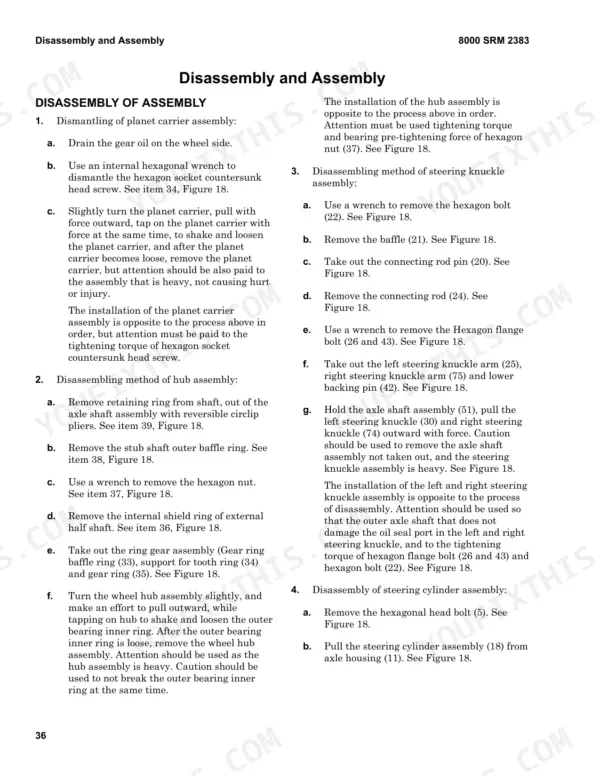
Check tire pressure and tire wear first, then grease the rear steering drive axle and add or replace gear oil for the hub bearing following page 42. Inspect clearance between the steering knuckle arm and bushing, the articulated bearings and the connecting rod pin; replace worn parts. Check the steering cylinder for leaks and low oil pressure, and tighten loose ring gear studs or gland nuts.
Manual Section: Common Faults and Elimination Methods (Rear Steering Drive Axle) p. 42Truck will not start and the starting motor does not turn the engine over
Verify the gear is in neutral and, with OPS fitted, that the seat switch and handbrake switch are closed and grounded following page 96. Check the wiring negative end connection, the key switch and the starting motor for damage. Inspect the electric box for a blown fuse or burned-smelling time relay, and never fit a larger fuse. Turn off the key switch and battery grounding wire before examining wires.
Manual Section: Troubleshoot Electrical System p. 96Frequently Asked Questions
What are the replacement specifications for engine oil and fuel filters on the Hyster F1.8UT 4WD, F2.5UT 4WD, F3.5UT 4WD?
According to Table 4, the engine oil filter should be replaced every 600 hours or 3 months, and the fuel filter should be replaced every 2400 hours or 12 months. p. 11
What is the fuel tank capacity of the Hyster F1.8UT 4WD, F2.5UT 4WD, F3.5UT 4WD, F50UT 4WD, F70UT 4WD?
The fuel tank capacity for the forklift is 108 liters (28.5 gallons). p. 13
What is the required tightening torque for the fastening bolt of the rear main reduction box assembly on the Hyster F1.8UT 4WD, F2.5UT 4WD, F3.5UT 4WD?
The tightening torque for the fastening bolt of the rear main reduction box assembly (item 5) is 180-220 N·m (133-162 lbf ft). p. 39
What's the specified brake shoe to drum clearance on Hyster F1.8UT 4WD, F2.5UT 4WD, F3.5UT 4WD, F50UT 4WD, F70UT 4WD?
The gap between the brake block and drum brake should be adjusted to 0.25-0.4 mm (0.01-0.016 in.) using a screwdriver. p. 61
What is the procedure for checking the hydraulic oil level?
Wait five minutes after operating the truck, park on flat ground, turn the power OFF, and lower the mast to the upright position with forks on the ground. Use the dipstick to check the oil level, ensuring it is between the L and H lines as specified in Figure 57. p. 86
What exactly do I receive with this Hyster F1.8UT 4WD Service Manual?
Instant PDF download. You get the full 102-page searchable Service Manual immediately after payment. Open it on your laptop, tablet, or phone right in the shop.
Can I print pages of this Hyster F1.8UT 4WD manual for my own shop?
Yes. Print a single page or a chapter for your own shop use, on letter or A4.

Reviews
There are no reviews yet.