
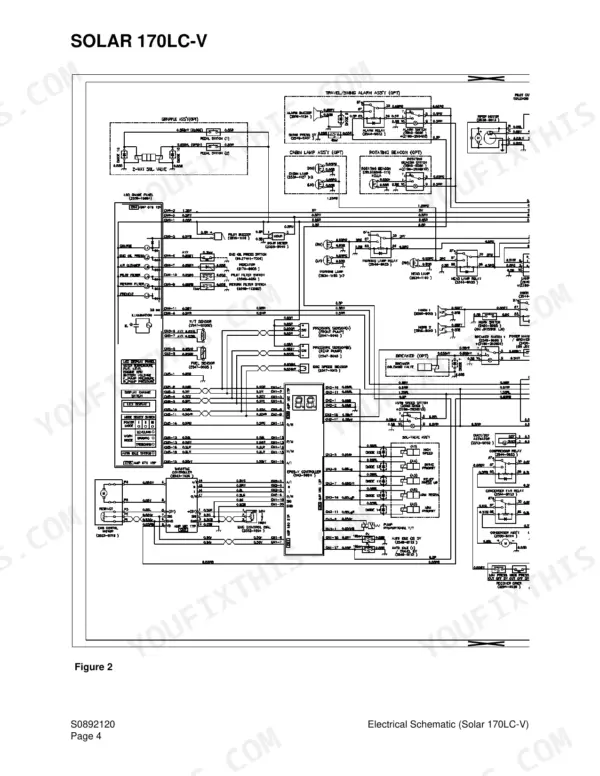
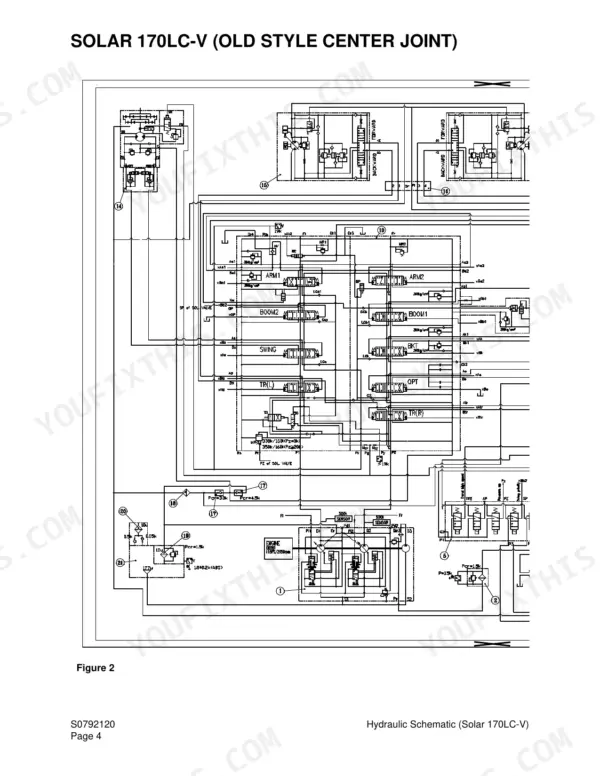
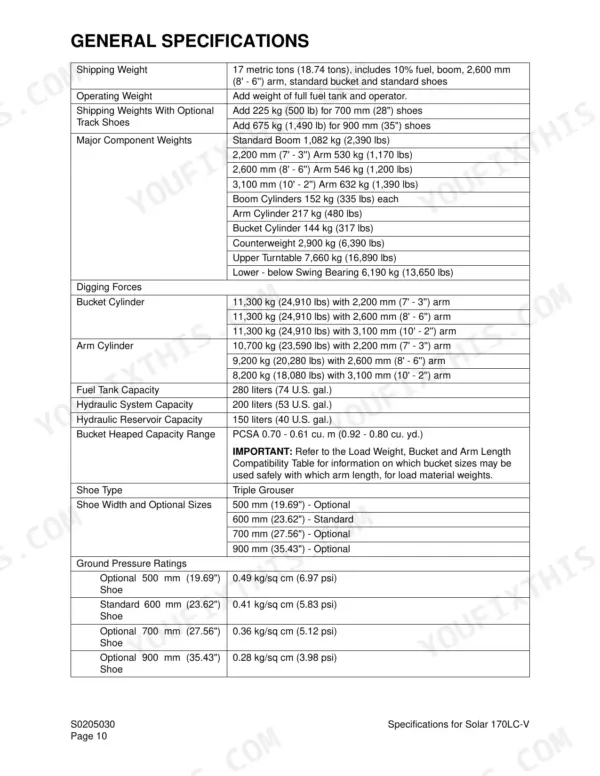
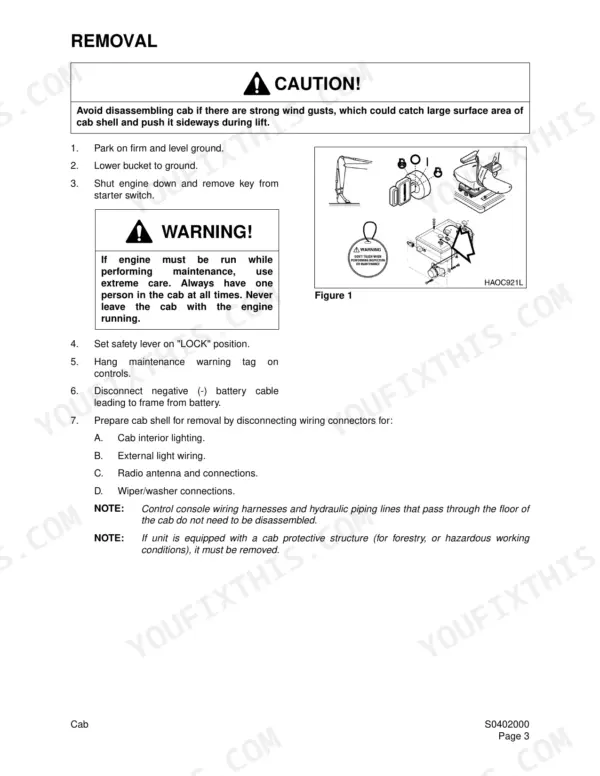
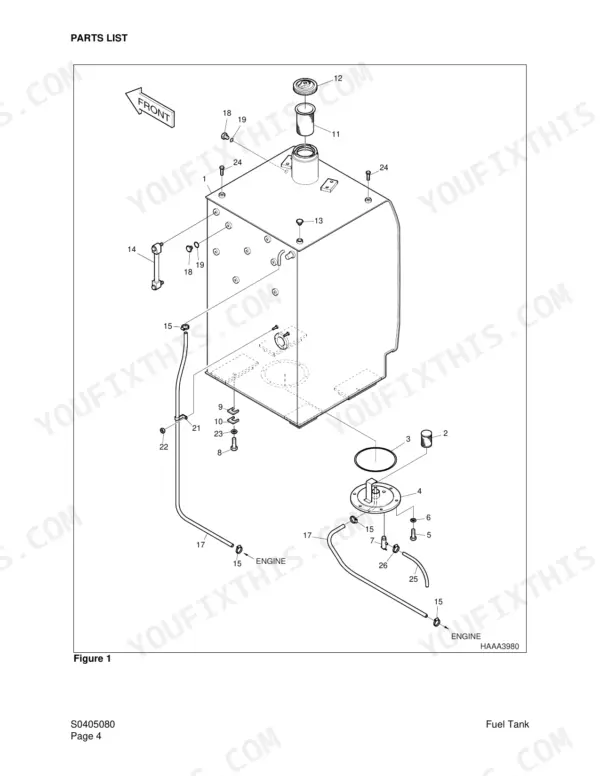
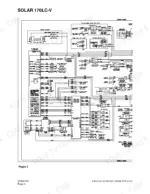
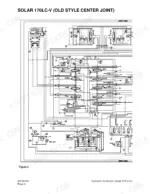
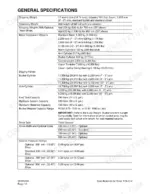
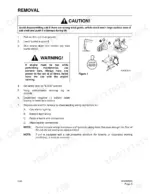
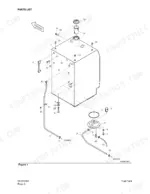
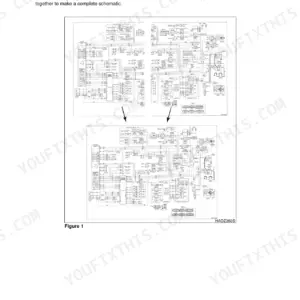
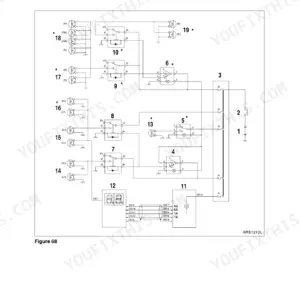
Every one of the 606 pages in this Daewoo Solar 170LC-V Shop Manual PDF (OEM #023-00032E) is aimed at one machine: your Solar 170LC-V track excavator. You get factory electrical schematics covering the EPOS-V controller, starting circuit, and monitoring system, plus hydraulic schematics for both old and new style center joints. Inside: teardown and rebuild procedures for the main pump, swing motor, TM24VA travel motor, main control valve, and track assembly, along with a full hydraulic troubleshooting, testing, and adjustment section and page after page of standard torques for metric and U.S. fasteners. Check secondary pilot pressure against the factory range of 4 to 6 kg/cm2 (57 to 85 psi), and know before you fill: the fuel tank holds 280 liters. A parked excavator doesn't earn a dime. Grab this bookmarked PDF, search any spec by keyword, and get back in the seat.
What's Inside This Daewoo Solar 170LC-V Manual
| System | Pages | Key Topics |
|---|---|---|
| Track Excavator Safety | 9-30 | General Safety Essentials, Lifting in Digging Mode, Work-Site Precautions, Operation, Maintenance, Shipping and Transportation |
| Specifications for Solar 170LC-V | 33-54 | General Dimensions, Working Range, General Specifications, Performance Tests, Cylinder Performance Tests |
| General Maintenance and Standard Torques | 57-82 | Welding Precautions, Hydraulic System Cleanliness, Cleaning and Inspection, Bearing Inspection, Metric Fasteners, U.S. Fasteners, Hose Clamps, Split Flanges, Torque Wrench Extension Tools, Loctite Adhesives |
| Upper Structure | 85-144 | Cab Removal and Installation, Window and Gasket Replacement, Counterweight Removal and Installation, Fuel Tank, Fuel Transfer Pump, Swing Bearing Maintenance and Axial Play, Swing Reduction Gearbox Disassembly and Reassembly |
| Lower Structure and Chassis (Track Assembly) | 147-174 | Track Tension, Track Shoes and Links, Front Idler Roller, Lower Roller, Upper Roller, Track Spring and Adjusting Cylinder |
| Engine and Drive Train | 177-214 | Air-Conditioner General Description and Refrigerant Circulation, Control Panel, Drive Coupling (Main Pump) Special Tools and Installation |
| Hydraulic System Troubleshooting, Testing and Adjustment | 217-244 | Operation of Working Components, Pilot Pressure, Power Mode Valve, Boom/Swing Priority Valve, Pressure Up Valve, Pump Input Power Control |
| Accumulator and Center Joint (Swivel) | 245-260 | Accumulator General Description and Specifications, Accumulator Charging, Center Joint Troubleshooting, Inspection, Disassembly and Reassembly |
| Cylinders | 261-280 | Parts List, Special Tools and Materials, Piston Nut, Piston Jig, Disassembly, Reassembly |
| Swing Motor | 281-308 | Anti-Cavitation Make-Up Valve, Relief Valve, Swing Brake Operation, Parts List, Specifications, Special Tools, Disassembly, Cleaning and Inspection (Wear Limits and Tolerances), Reassembly |
| Travel Motor (with Gearbox) (TM24VA) | 309-364 | Hydraulic Motor Operation, Reduction Gearbox Operation, Travel Motor Parts List, Travel Reduction Gearbox Parts List, Specifications, Name Plate Identification, Recommended Bolt Plug Sizes and Torques, Troubleshooting, Testing and Adjustment |
| Main Pump | 365-398 | Composition, Parts List, Special Tools and Materials, Oil Seal Protector, Reassembly Jigs (Set Screw, Cap, Oil Seal), Troubleshooting, Testing and Adjustment |
| Main Control Valve | 399-466 | Control Valve Operation, Arm Priority Circuitry, Bucket (Junction) Circuitry, Straight Travelling Circuit, Plunger Replacement, Main Relief Valve, Overload Relief Valve, Arm and Boom Load Holding Valves, Arm Regeneration |
| Pilot Control Valve (Work Lever / Joystick) | 467-484 | Theory of Operation, Parts List, Specifications, Hydraulic Specifications, Special Tools, Disassembly, Reassembly |
| Travel Control Valve | 485-512 | Theory of Operation, Parts List, Specifications, Torque Table, Special Tools and Materials, Troubleshooting, Testing and Adjustment, Disassembly, Cleaning and Inspection (Wear Limits and Tolerances) |
| Hydraulic Schematic (Solar 170LC-V) | 513-520 | Solar 170LC-V Schematic (Old Style Center Joint), Solar 170LC-V Schematic (New Style Center Joint) |
| Electrical System | 523-582 | Troubleshooting - Electrical System, Wiring Harness Illustrations, Electric Supply System, Engine Starting Circuit, Engine Preheating System, Engine Stop System, Charging System, Monitoring System |
| Attachments | 585-606 | Front Attachment Pin Specifications, Boom and Arm Removal and Installation, Bucket Tooth Inspection, Bucket O-Ring Replacement |
Quick Reference Specifications
| Specification | Value | Page |
|---|---|---|
| Torque for Radiator hose clamps (T-Bolt) | 0.6 - 0.7 kg•m (55 - 65 in. lbs.) | p. 77 |
| Torque for Radiator hose clamps (Worm Drive 1-3/4 in. and under) | 0.2 - 0.3 kg•m (20 - 30 in. lbs.) | p. 77 |
| Fuel Tank Capacity | 280 liters (74 U.S. gal) | p. 107 |
| Force required to move the bucket for lateral play check | less than 100 lb | p. 121 |
| Secondary pilot pressure | 4 to 6 kg/cm sq. (57 to 85 psi) | p. 221 |
| Pilot Pressure - Joystick | 28 ±1.5 bar (392 ±22 psi) | p. 227 |
| Tightening Torque for Plug with Hexagon Hole (354) | 0.6 ±0.25 kg•m (4.34 ±2 ft lbs) | p. 325 |
| Tightening Torque for Plug (382) | 1.5 ±0.25 kg•m (10.85 ±1.81 ft lbs) | p. 326 |
| Interval from piston to cylinder piston hole (D-d) Standard Value | 0.0250 mm (0.0010 in.) | p. 384 |
| Interval from piston to cylinder piston hole (D-d) Replacement limit | 0.040 mm (0.0016 in.) | p. 384 |
| Hydraulic System Capacity | 200 liters | p. 42 |
| Hydraulic Reservoir Capacity | 150 liters | p. 42 |
Daewoo Solar 170LC-V Common Problems This Manual Covers
Daewoo Solar 170LC-V hydraulic system loses pressure after 2000 hours, bucket digs weak and slow
Test main relief pressure first; spec is 320 kg/sq cm normal and 350 kg/sq cm in pressure up mode (page 49). If relief checks out, pull the main pump and measure piston-to-bore clearance against the 0.040 mm (0.0016 in.) replacement limit on page 384. Replace the rotating group past that limit.
Manual Section: Main Pump p. 365Boom or arm drifts down when joysticks are released with a loaded bucket
Check joystick pilot pressure first; a sticking pilot spool holding 28 ±1.5 bar (392 ±22 psi, page 227) after release keeps the main spool cracked open. If pilot pressure drops correctly, pressure-test each cylinder for internal bypass and replace leaking piston seals using the disassembly procedure that starts on page 261.
Manual Section: Cylinders p. 261Engine overheats during heavy digging in hot weather, temperature gauge climbs into the red
Clean the radiator core with compressed air blown from the fan side; mud packs between the fins on dirt work. Check coolant level cold and pressure-test the cap. When replacing hoses, torque T-bolt clamps to 0.6 to 0.7 kg•m (55 to 65 in. lbs.) per page 77; loose clamps weep under load.
Manual Section: Standard Torques p. 77Swing motor grinds or growls during rotation, upper structure hesitates before turning
Check swing bearing play before condemning the motor: with the bucket positioned per the lateral play check on page 121, movement should take less than 100 lb of force. If the bearing checks good, drain the swing gearbox and look for metal in the oil. Tear down the swing motor per page 281 and inspect the brake plates.
Manual Section: Swing Motor p. 281Machine pulls to one side when traveling, one travel motor case runs hot
Compare case drain flow between both travel motors; the hot side with high drain flow has worn rotating parts. Verify the negative parking brake releases fully, since brake holding torque is 40.6 kg•m (page 325) and a dragging brake cooks the case. Rebuild the motor per the procedure starting on page 309, torquing case plugs to 3 ±0.5 kg•m.
Manual Section: Travel Motor (with Gearbox) (TM24VA) p. 309Frequently Asked Questions
What are the replacement specifications for boom and arm cylinder seals?
The manual states that cylinder drift rate should be checked at regular intervals. Bucket cylinder drift should not exceed 20 mm (0.8 in.) after 5 minutes, while arm and boom cylinders should not fall more than 5 mm (0.2 in.) in the same time. Overhaul seal kits are available through Daewoo. p. 54
What is the tightening torque for the cabin floor mounting nuts?
When installing the cabin, the four mounting nuts at the corners of the cabin floor must be tightened to a torque of 20.2 kg•m (146 ft lbs). p. 90
What is the procedure for checking the swing bearing axial play?
Periodic checks should be made at least twice a year using a dial indicator. Lift the excavator off the ground by pushing the attachment against the ground and take measurements at 4 points, 90 degrees apart, around the circumference of the bearing. p. 121
What is the recommended track tension for the Solar 170LC-V?
For operation over most types of terrain, the recommended track tension (distance between the bottom of the side frame and the top of the lowest crawler shoe) is 320 - 340 mm (12.60 - 13.38 in.). For muddy conditions, this increases to 340 - 380 mm (13.38 - 14.96 in.). p. 150
What is the tightening torque for the swing reduction gearbox bolts?
When securing the cover plate to the casing with eight bolts (39), apply Loctite #262 to the threads and tighten the bolts to 700 - 740 kg•cm (51 - 54 ft lbs). p. 139
Is this Daewoo Solar 170LC-V Shop Manual a digital download?
You get a 606-page searchable PDF that downloads instantly after checkout. Open it on your laptop, tablet, or phone, and bring it right to the shop floor.
Can I print this Daewoo Solar 170LC-V manual?
Yes. Print a chapter or just the pages for the job at hand, for use in your own shop. Any home or office printer works.


Reviews
There are no reviews yet.