
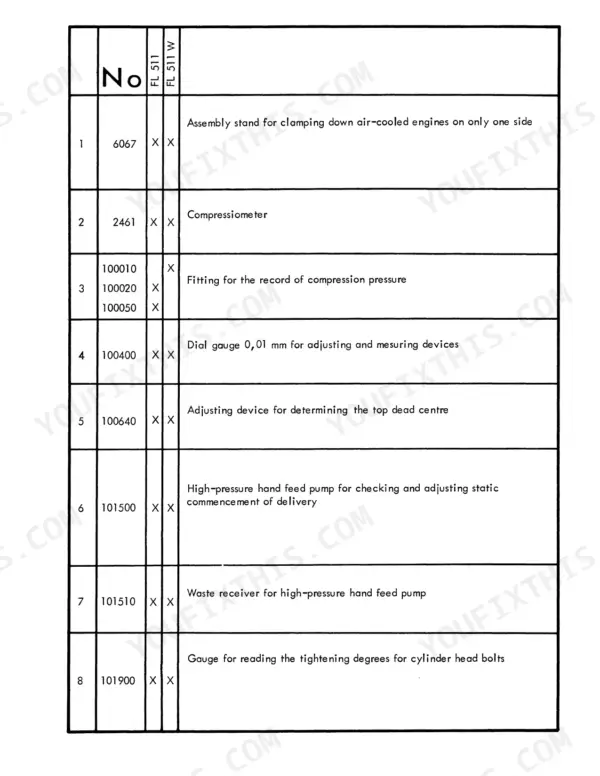
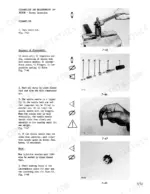
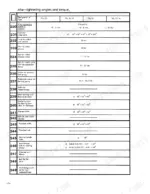
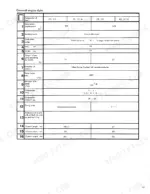
Rebuilding one of these old air-cooled Deutz diesels? This 321-page Deutz FL 511/W workshop manual PDF (OEM #291 1921) gives you the factory procedures for every 511-series engine, W variants included. Inside: after-tightening angle and torque tables, a failures-and-causes troubleshooting chart, and exploded views that show exactly how the crankshaft assembly, injection pump, and cooling blower go back together. You also get the full special tools section, from the compressiometer to the valve spring compressor, plus step-by-step instructions for complete engine teardown and reassembly. Set the first compression ring side clearance between 0.105 and 0.145 mm; past the 0.5 mm wear limit, fit new rings. An engine in pieces on the bench is no place for guesswork. Bookmarked with a full text layer: search any spec, jump straight to the procedure, and start wrenching.
What's Inside This Deutz 511 Series (F1L/F2L, W variants) Manual
| System | Pages | Key Topics |
|---|---|---|
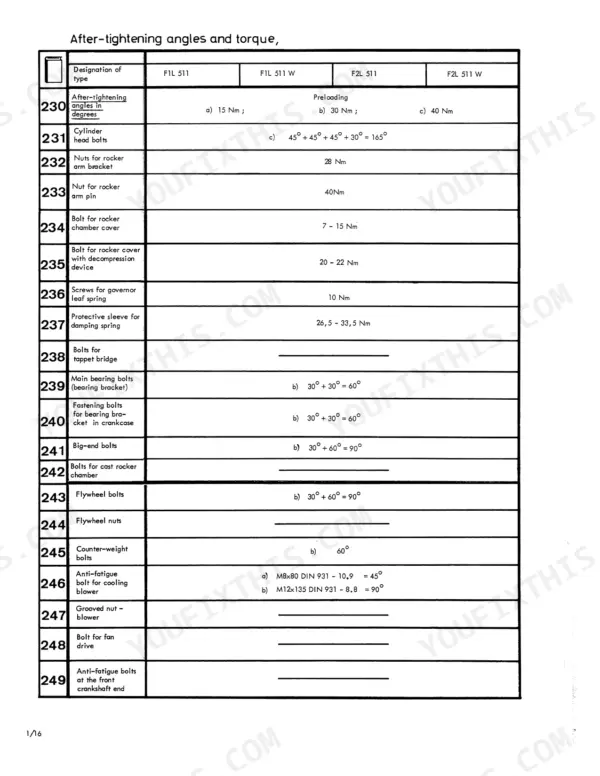
| Specification Data | 10-31 | Fuel Injection System, Cylinder Unit, Crankshaft Assembly, Engine Lubrication, After-Tightening Angles and Torque, Engine Serial Numbers and Maker's Nameplate |
| Checking and Adjusting | 32-65 | Valve Clearance, Checking Compression Pressure, Determining Top Dead Centre, Checking and Adjusting Beginning of Delivery, Testing and Adjusting Injector |
| Cylinder Unit | 66-115 | Removing and Refitting Cylinder Head, Removing and Refitting Cylinder, Checking Cylinder, Removing and Refitting Piston, Checking Piston, Checking and Repairing Cylinder Head |
| Crankcase, Crankshaft, Camshaft | 116-135 | Checking Crankcase, Removing and Refitting Main Bearing Bushes, Renewing Camshaft Bearing Bush, Checking Camshaft, Fitting Bearing Bracket to Crankshaft, Checking Crankshaft |
| Engine's Front End | 136-191 | Removing and Refitting Front Cover, Inspecting Front Cover and Overhauling Speed Control System, Inspecting Front Cover and Overhauling Speed Control System with Torque Control |
| Engine's Flywheel End | 192-205 | Checking Starter, Removing and Refitting Flywheel, Overhauling Flywheel, Renewing Crankshaft Seal |
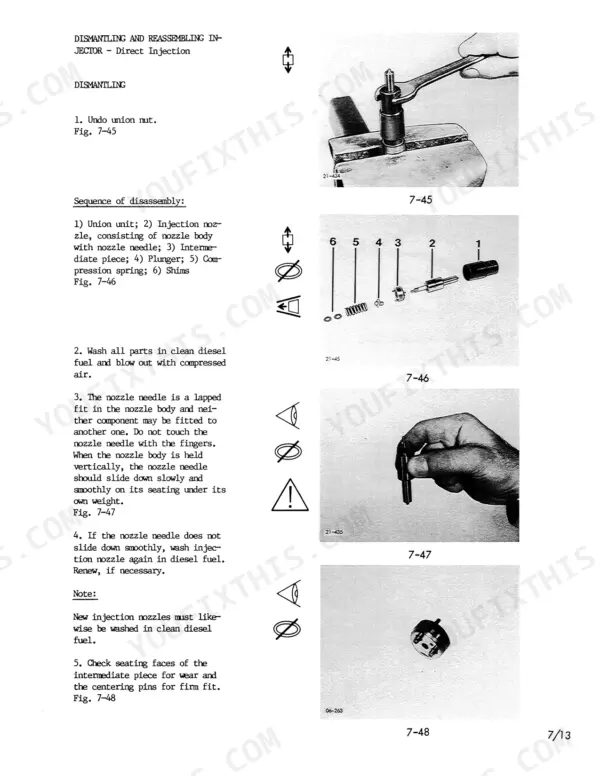
| Injection System | 206-229 | Removing and Refitting Injection Pump, Removing and Refitting Injector - Direct Injection, Dismantling and Reassembling Injector - Direct Injection |
| Auxiliaries | 230-255 | Removing and Refitting Cooling Blower, Dismantling and Reassembling Cooling Blower, Removing and Refitting Engine Oil Cooler, Removing and Refitting Hydraulic Oil Cooler, Removing |
| Dismantling and Reassembling, Engine Complete | 256-299 | Dismantling the Engine, Reassembling the Engine |
| Special Tools | 300-321 | Assembly Stand, Compressiometer, Dial Gauge, Nozzle Holder Spanner, Valve Spring Compressor, Piston Ring Plier |
Quick Reference Specifications
| Specification | Value | Page |
|---|---|---|
| Printed material no. | 291 1921 | p. 2 |
| Side clearance 1st compression ring | 0,105 - 0,145 mm | p. 18 |
| Limit value 1st compression ring | 0,5 mm | p. 18 |
| Valve guide Outside diameter | 15,0 +0,056 +0,045 mm | p. 15 |
| Valve guide (pressed in) Inside diameter | 8,0 +0,015 0 mm | p. 15 |
| Bore normal | 100 +0,22 0 mm | p. 17 |
| Bore wear limit | 1) 0,15 2) 0,10 mm | p. 17 |
| Lube oil pressure in bar In low idling minimum | 0,5 | p. 25 |
| Anti-fatigue bolt for cooling blower | a) M8x80 DIN 931 - 10.9 = 45° b) M12x135 DIN 931 - 8.8 = 90° | p. 27 |
| Cooling blower fastening | b) 60° | p. 28 |
| Oil pressure valve leaky or wrongly adjusted | Oil pressure valve leaky or wrongly adjusted | p. 65 |
| Control unit for temperature or pressure defective | Control unit for temperature or pressure defective | p. 65 |
Deutz 511 Series (F1L/F2L, W variants) Common Problems This Manual Covers
Deutz FL 511 air-cooled engine overheating under load, cooling fins packed with dirt and debris
Clean the cooling fins and check the blower drive first. Inspect the V-belt for the cooling air blower; a loose or worn belt is listed in the failure table on page 65. Verify baffle plates are tight and uncracked. When refitting the blower, torque the fastening bolts through the 60 degree tightening angle shown on page 28.
Manual Section: Trouble shooting Failures and causes p. 65Engine lacks power and starts hard, blue smoke from the breather after long service hours
Test compression pressure with the compressiometer; a healthy engine reads 29 to 31 bar per page 12. Below that, measure ring gap: compression rings past the 0.8 mm limit on page 18 mean the rings are finished. Check bore wear against the 0.15 mm limit on page 17 before ordering parts.
Manual Section: Checking and Adjusting p. 33Burning oil and smoking heavily, oil level drops noticeably between every service interval
Pull the cylinder head and check the valve guides first; the failure table on page 65 lists worn guides as a prime oil burner. Renew guides after heating the head to 220 degrees C per page 98 so they press in cleanly. While the head is off, check slotted oil ring gap against the 0.8 mm limit on page 19.
Manual Section: Cylinder Unit p. 98Loud tappet clatter at idle, valves out of adjustment after top-end work
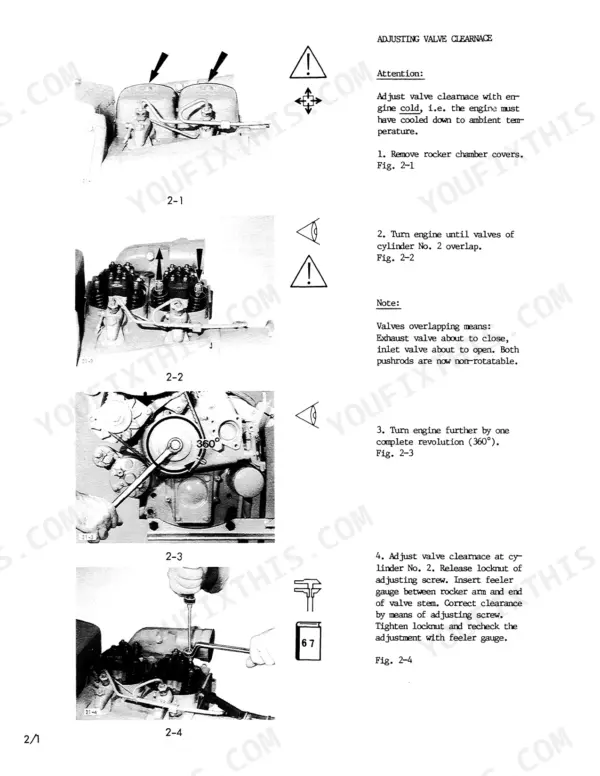
Adjust valve clearance only on a cold engine. Set both intake and exhaust to 0.15 mm as specified on page 16, turning the crankshaft to bring each cylinder to its checking position before you slide the feeler in. Recheck after the first few hours of running, since a fresh head gasket settles as the bolts seat.
Manual Section: Adjusting valve clearance p. 33Rough running and diesel knock, injector nozzle dribbling or spraying a poor pattern
Test each injector on a pop tester for opening pressure, chatter, and spray pattern. Non-W engines (F1L 511, F2L 511) must open at 180 plus or minus 8 bar when new, per page 13. A hard solid stream instead of fine mist means a stuck or eroded nozzle; strip and clean it before renewing parts.
Manual Section: Injection System p. 206Frequently Asked Questions
What are the torque specifications for Deutz FL 511/W cylinder head bolts?
The cylinder head bolts should first be preloaded to 30 Nm. After preloading, they are tightened in stages by angles: 45° + 45° + 45° + 30°, totaling 165°. For torques above 30 Nm, a torque wrench should be used. p. 27
What is the torque setting for Deutz FL 511/W connecting rod bolts?
The big-end (connecting rod) bolts should first be preloaded to 30 Nm. After preloading, they are tightened in stages by angles: 30° + 60°, totaling 90°. For torques above 30 Nm, a torque wrench should be used. p. 27
What are the replacement specifications for Deutz FL 511/W piston rings?
The side clearance for the 1st compression ring is 0.105 - 0.145 mm with a limit value of 0.5 mm. For the 2nd compression ring, the side clearance is 0.090 - 0.122 mm with a limit value of 0.3 mm. The normal gap for compression rings is 0.35 - 0.55 mm, with a limit value of 0.8 mm. p. 18
What is the specified valve clearance for the Deutz FL 511 engine when cold?
The valve clearance for both inlet and exhaust valves, when the engine is cold, is specified as 0.15 mm. This clearance should be adjusted with the engine at ambient temperature. p. 16
What is the normal compression pressure for the Deutz FL 511 engine?
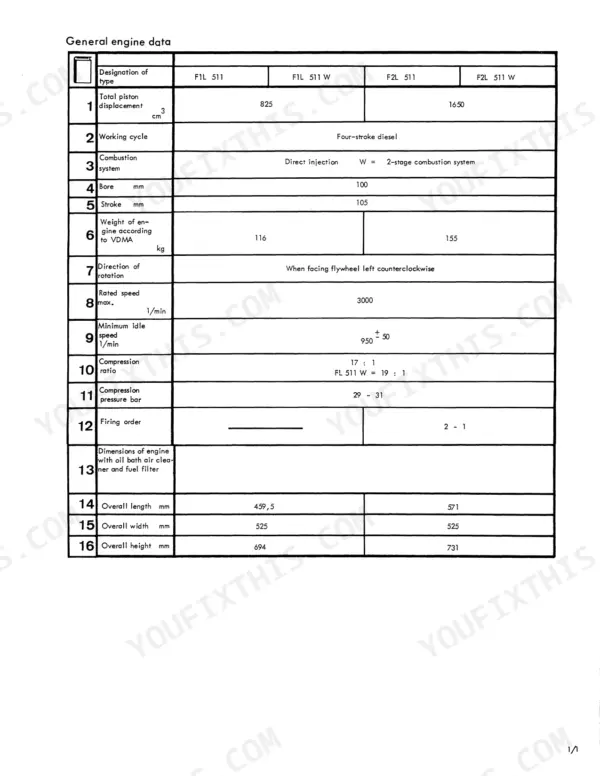
The normal compression pressure for the engine is between 29 and 31 bar. It is recommended to use this measurement for comparison across cylinders, and if a difference exceeding 15% is found, the cylinder unit should be dismantled to find the cause. p. 12
What do I get after purchasing this Deutz FL 511/W manual?
You get a 321-page searchable PDF that downloads instantly after checkout. Open it on your laptop, tablet, or phone, and bring it right to the shop floor.
Is this Deutz FL 511/W Workshop Manual printable?
No restrictions at all. Print individual pages, full chapters, or the entire manual. The PDF is completely unlocked.


Reviews
There are no reviews yet.