
Part of the New Holland Repair Manuals.
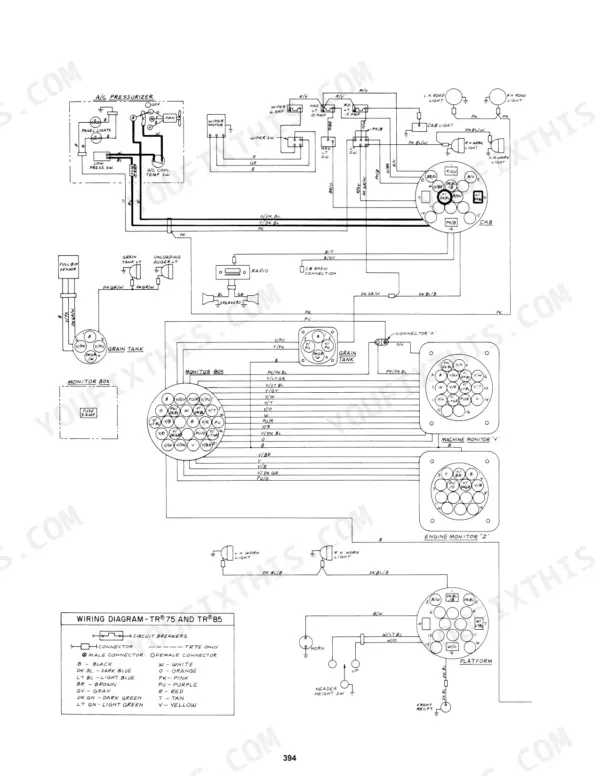
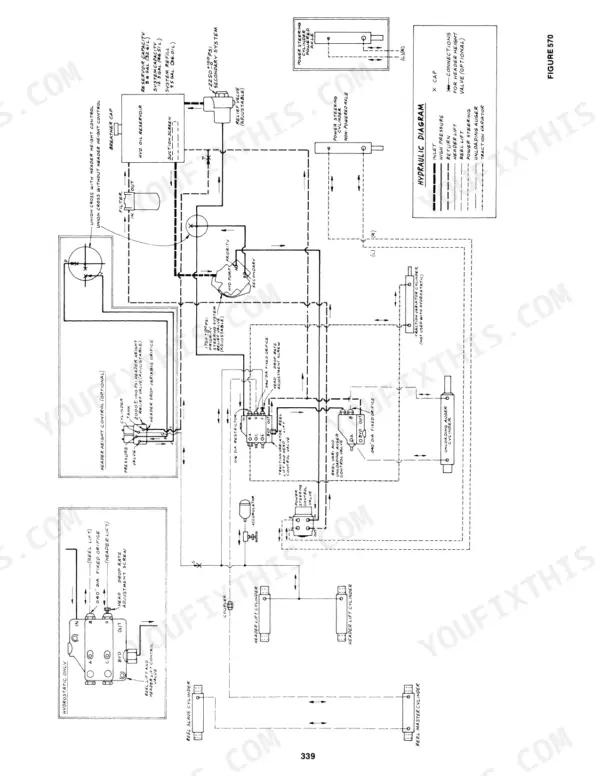
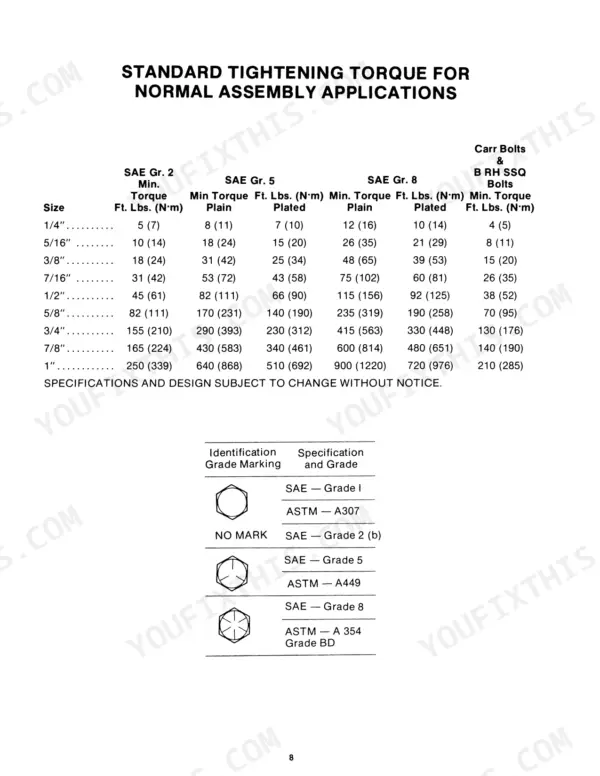
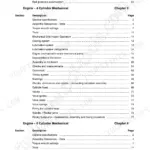
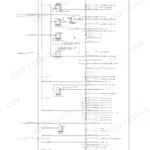
All 450 pages of this New Holland TR75, TR85 Service Manual PDF (OEM #40007521) focus on one job: keeping your twin-rotor combines threshing. You get full-page wiring diagrams for the harness, cranking motor, and charging circuits, plus hydraulic schematics tracing the priority flow divider, steering control unit, and bladder accumulator. Step-by-step teardowns run from the feeder and rotor gearboxes through the hydrostatic system, ground drive transmission, and brakes, backed by torque and conversion charts for SAE Grade 2 through 8 hardware. Set the ratchet clutch to slip at 320-370 ft. lbs., then tension the main drive belt to 1 5/8 inch of deflection under 15 lbs. of force. Harvest doesn't wait on a parts counter. This scanned factory PDF is bookmarked by section; download it, pull it up on your tablet at the machine, and get back in the field.
What's Inside This New Holland TR75, TR85 Manual
| System | Pages | Key Topics |
|---|---|---|
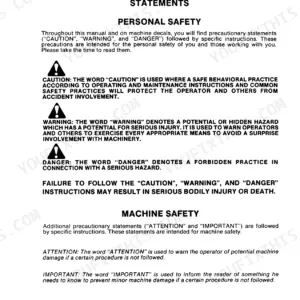
| Introduction, About Improvements, Safety and General Information | 2-8 | Service Procedures, Removal, Disassembly, Reassembly, Torque Specifications, Personal Safety, Machine Safety, Safety Stands, Hydraulic Jacks, Safety Latches, Battery Safety, Cap Screws, Carriage Bolts, Flat Washers |
| Feeder and Header Drive | 9-56 | Belt Drives, Ratchet Clutch, Stone Roll, Front Drum, Feeder Floor, Cradle, Feeder Drive Belts, Main Header Drive Belt, Header Idler Sheave, Bell Housing, PTO Shaft, Flex Plate, Engine Sheave, Pivot Shaft |
| Separator, Main Shaft and Rotors | 57-137 | Separator Clutch, Drive Sheave, Clutch Pack, Throw-Out Bearing, Spanner Hub, Left-Hand Bearing Assembly, Right-Hand Bearing Assembly, Main Shaft Removal, Main Shaft Installation, Beater Drive Sheave, Header Drive Sheave, Lower Variator Sheaves, Rotor Drive Vari-Speed Motor, Speed Screw Assembly |
| Concaves, Grates and Discharge Beater | 138-164 | Concave Extensions, Feed Plate Assembly, H-Frame, Concave Removal, Concave Installation, Concave Centering, Concave Leveling, Separator Grate Removal, Separator Grate Installation, Separator Grate Wires, Discharge Beater, Discharge Beater Grate, Beater Drive Sheave, Beater Shaft |
| Cleaning, Loading and Unloading Systems | 165-182 | Cleaning Fan, Cleaning Fan Shaft, Cleaning Fan Blades, Air Deflector, Shoe, Shoe Bushings, Unloading Auger, Cross Shaft, Grain Tank Cross Auger, Loading Auger, 45 Degree Gearbox, Bubble-Up Auger |
| Traction Drive, Transmission and Brakes | 183-236 | Intermediate Sheave, Traction Drive Belts, Bushings, Bearings, Shaft, Input Shaft, Transfer Shaft, Counter Shaft, Shifter Forks, Differential, Brake Housing, Clutch Housing, Pressure Plate, Drive Disc |
| Final Drives, Hydrostatic Drive and Rear Axle | 237-337 | Output Shaft, Input Shaft, Final Drive Housing, Output Gear, Bearing, Lock Tab Washer, Variable Displacement Pump, Fixed Displacement Motor, Charge Pump, Manifold, Shuttle Valve, Relief Valve, Flow Limiters, Rear Wheel Drive Motors |
| Hydraulic System | 338-392 | Priority Flow Divider, Steering Control Unit, Head Lift Cylinder, Unloading Auger Cylinder, Bladder Accumulator, Directional Control Valve |
| Electrical System | 393-430 | Wiring Harness, Cranking Motor, Alternator, Charging System, Battery, Circuit Breakers |
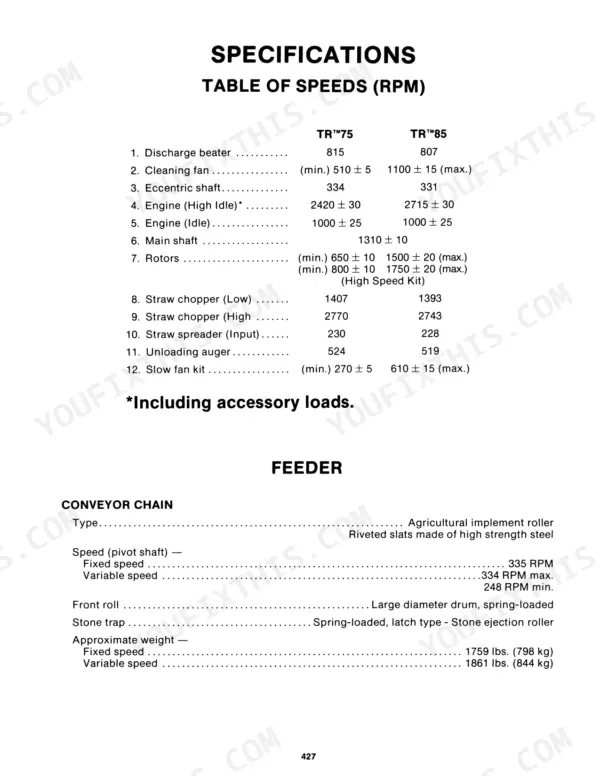
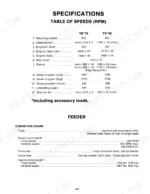
| Specifications, Torque Charts and Labor Guide | 431-444 | Table of Speeds, Feeder Conveyor Chain, Threshing Concaves, Twin Rotors, Cleaning Area, Engine Specifications, Sae Grade Identification, Tightening Torques, Millimeters to Inches, Inches to Millimeters, Hydraulic Tubes and Fittings |
Quick Reference Specifications
| Specification | Value | Page |
|---|---|---|
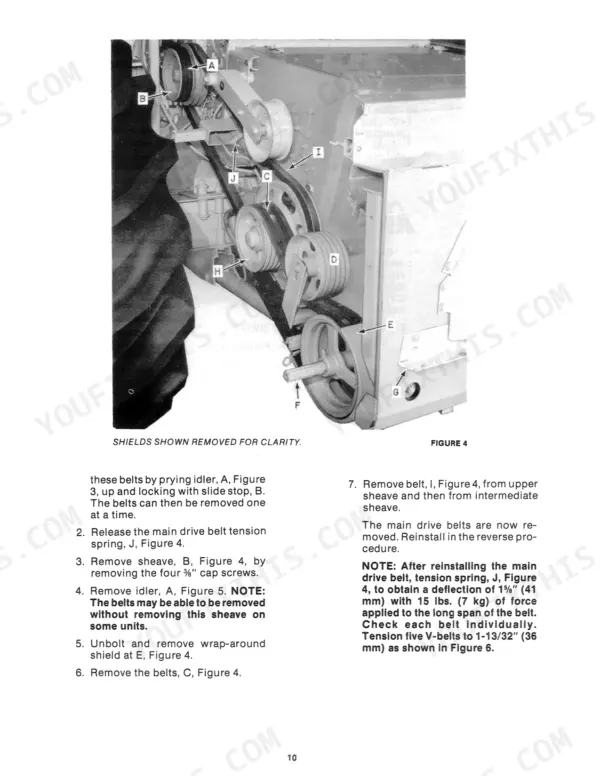
| Main drive belt tension | 1 5/8 inch (41 mm) deflection with 15 lbs (7 kg) of force | p. 10 |
| V-belt tension | 1-13/32 inch (36 mm) | p. 10 |
| Upper shaft idler bearing preload | 6-12 in. lbs. (1.05-2.1 N·m) | p. 12 |
| Intermediate idler sheave bearing preload | 6-12 in. lbs. (1.05-2.1 N·m) | p. 13 |
| Ratchet clutch slip torque | 320-370 ft. lbs. (416-481 N·m) | p. 24 |
| Ratchet clutch check slip torque | 184-212 ft. lbs. (240-276 N·m) | p. 24 |
| Feeder chain tension | 1/2 inch sag at mid span | p. 24 |
| spanner nut rolling torque | 6-12 in. lbs. | p. 104 |
| Spring length | 2-9/16 inch (65 mm) | p. 172 |
| Accumulator nitrogen pre-charge | 750 psi (52 bar) | p. 341 |
| Priority System (Steering System) pressure | 2000 + 100 - 0 psi (138 + 7 - 0 bar) | p. 342 |
New Holland TR75, TR85 Common Problems This Manual Covers
New Holland TR85 feeder ratchet clutch slips and rattles under heavy crop load, header stops feeding
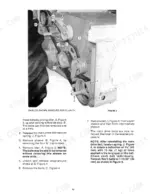
Check clutch slip torque with a bar and spring scale at the header jack shaft; it should slip at 184-212 ft. lbs. (240-276 N·m), which equals 320-370 ft. lbs. (416-481 N·m) at the top pivot shaft, per the check on page 24. If it slips low, disassemble and inspect the ratchet faces for wear.
Manual Section: Feeder Ratchet Clutch p. 24Separator clutch chatters and overheats after rotor plugging, smells like burnt grease when engaged
Remove the separator clutch and split the clutch pack; removal and assembly procedures start on page 57. Clean burnt grease off the discs and stop over-greasing the throw-out bearing, that is what cooks these clutches. On reassembly, verify the .789 inch (20 mm) spacer is seated per page 63, then set the clutch adjustments before running loaded.
Manual Section: Separator Clutch p. 57Header lifts slowly, steering feels heavy, unloading auger swings out sluggish once oil warms up
Test priority system pressure first; spec is 2000 +100/-0 psi (138 bar) on page 342. Low pressure points at the priority flow divider, not the individual cylinders. Check hydraulic fluid level and filter condition before condemning the pump. If the header settles overnight, test the accumulator nitrogen pre-charge against the 750 psi (52 bar) spec on page 341.
Manual Section: Hydraulic System p. 342Unloading auger drive belt squeals on engagement, grain tank empties slowly or not at all
Adjust the unloading auger drive belt tension: tighten the jam nuts until the spring measures 2-9/16 inch (65 mm), following the procedure on page 172. Then check the belt guide; clearance with the clutch engaged must not exceed 1/8 inch (3 mm) per page 171. Replace a glazed or cracked belt before it strands you mid-unload.
Manual Section: Loading and Unloading System p. 172Rotor gearbox whines under load, coupler area noisy, metal flakes showing in the gearbox oil
Drain the gearbox oil and check for metal. Pull the gearbox and inspect the bearings, gears, coupler chain, and sprockets; removal and teardown procedures start on page 95. On reassembly, tighten the spanner nut to 6-12 in. lbs. of rolling torque on the output shaft per page 104, then lock the tab washer. Loose bearings are what chew up splines.
Manual Section: Rotor Gearboxes p. 95Frequently Asked Questions
What are the replacement specifications for bearings?
When replacing bearings, they should be packed with good quality gun grease. For the upper shaft idler, the castellated nut should be tightened to obtain 6-12 in. lbs. (1.05-2.1 N·m) of preload on the bearings, ensuring the nut is not overtightened. p. 12
What is the correct torque for the rotor drive torque sensing drive cap screw?
When installing the torque sensing drive assembly onto the gearbox shaft, the washer and cap screw should be installed and torqued to 65 ft. lbs. (88 N·m). p. 92
What is the required oil capacity for the left-hand rotor gearbox?
The left-hand rotor gearbox requires 0.7 quarts (0.68 L) of 80W-90 oil. The oil level should be filled to the hashmark on the dipstick. p. 109
What is the proper tension for the main header drive belt?
The main header drive belt should be tensioned with the belt engaged by setting the spring to a length of 1 7/8 inches (48 mm). p. 45
Is this New Holland TR75 manual a download or a disc?
Instant PDF download. You get the full 450-page scanned Service Manual immediately after payment. Open it on your laptop, tablet, or phone right in the shop.
Can I print specific sections of this New Holland TR75 Service Manual?
You can. Print the sections you want for your own use and keep the file as your backup.
Can I find hydraulic circuit diagrams in this New Holland TR75 manual?
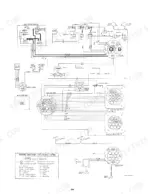
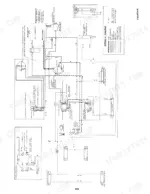
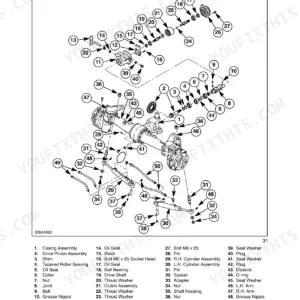
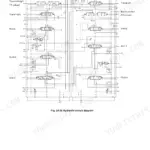
Yes. The manual includes hydraulic circuit diagrams, system schematics, and component specifications with pressure ratings. There is one on page 259, for example.




Reviews
There are no reviews yet.