
Part of the New Holland Repair Manuals.
Nothing kills a hay day like a round baler that stops wrapping halfway down the field with rain coming. This service manual for the New Holland BR7060, BR7070, BR7080 and BR7090 is for fixing it yourself when the dealer is an hour away.
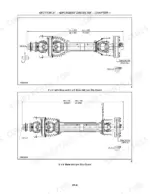
It covers the PTO driveline, gearbox and clutches, plus the tailgate lift, belt tension and pickup lift hydraulics. All four pickup types are here, along with belts, rolls, the sledge assembly and both net and twine wrappers. Electrical Systems covers the harness, Bale Command Plus and Auto Wrap.
You also get real numbers, such as 142 N-m (105 lb ft) on the PTO to gearbox input shaft. You buy it once and keep it for this baler, so you can get back in the field before the weather turns.
What's Inside This New Holland BR7060, BR7070, BR7080, BR7090 Manual
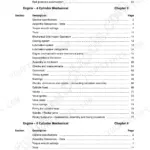
| System | Pages | Key Topics |
|---|---|---|
| General Information | 41-82 | Safety, Hardware, Torque Specifications, Lubricants, Conversion Charts |
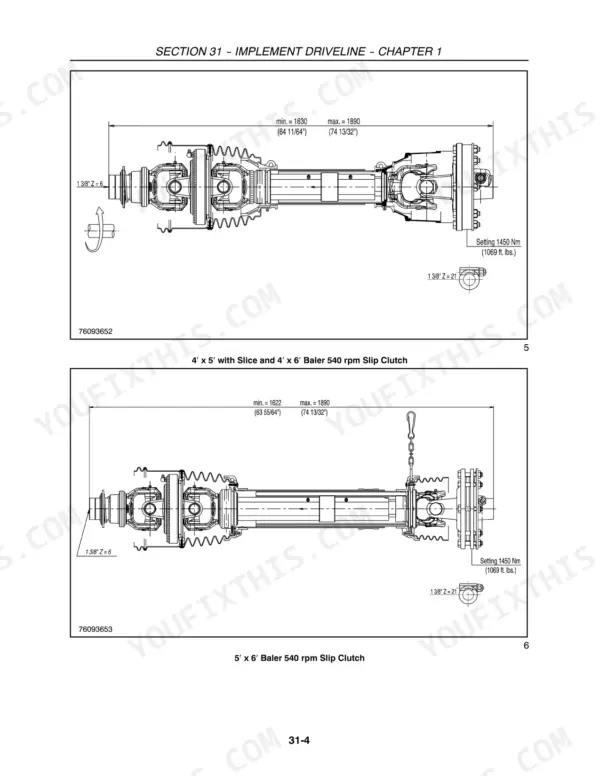
| Implement Driveline | 83-218 | PTO Driveline, Gearbox, Clutches, Drives |
| Hydraulics | 219-282 | Tailgate Lift System, Belt Tension System, Feeding/Pickup Lift, Lubrication/Oiler |
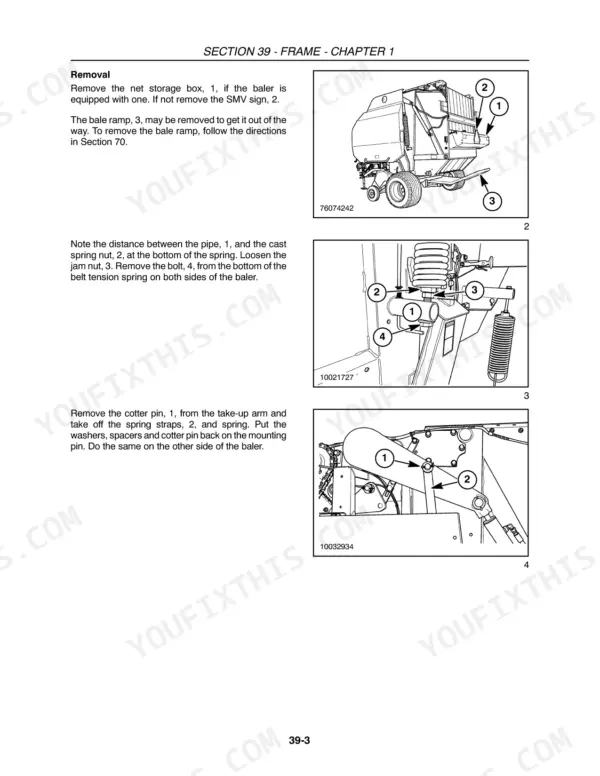
| Frame | 283-348 | Tailgate Assembly, Tailgate Adjustment |
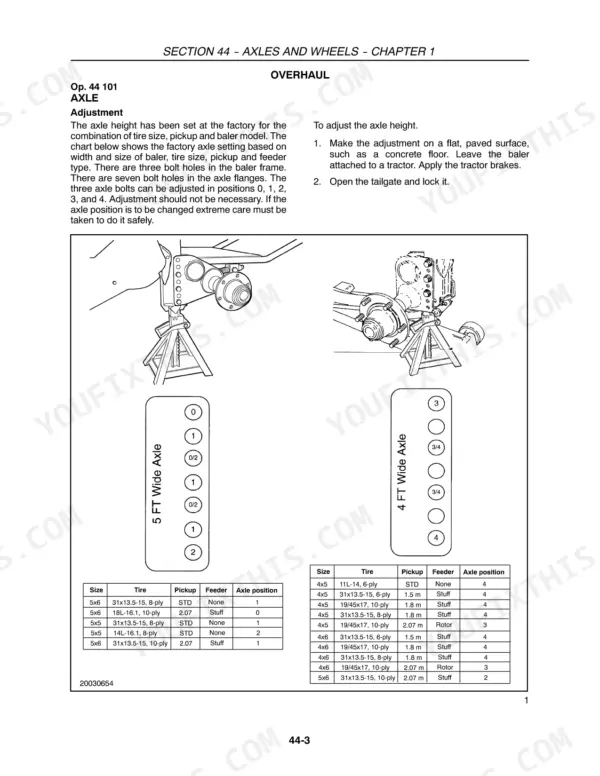
| Axles and Wheels | 349-354 | Axle Adjustment, Tire Pressure, Wheel Torque, Wheel Bearings |
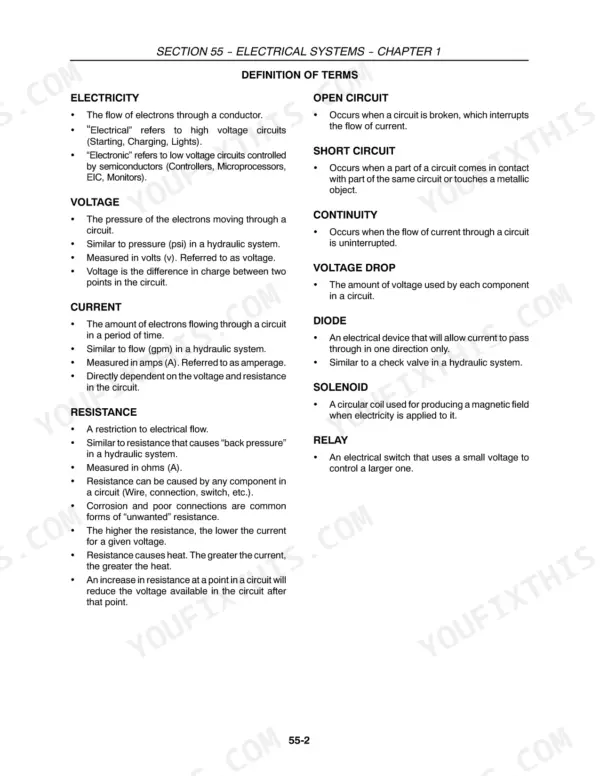
| Electrical Systems | 355-524 | Harness and Connectors, Bale Command Plus, Auto Wrap System, Lights |
| Pickups | 525-758 | Standard Pickup, Wide Pickup with Stuffer, Wide Pickup with Rotor, Delta Special Pickup |
| Pressing | 759-972 | Take Up Arm, Belts, Starter Roll, Stationary Roll, Floor Roll, Belt Rolls, Sledge Assembly |
| Wrapping | 973-1082 | Net Wrapper Mechanical System, Twine Wrapper Mechanical System, Auto Wrap System |
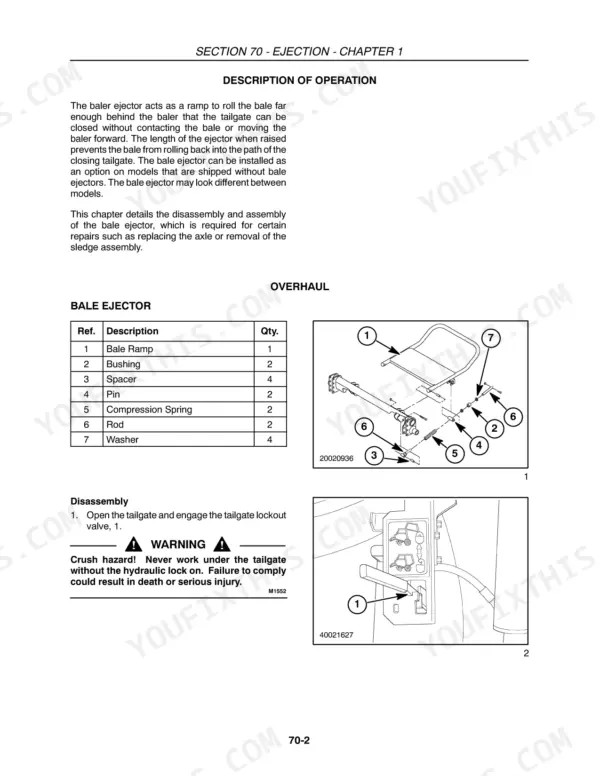
| Ejection | 1083-1086 | Bale Ejector |
| Shielding | 1087-1100 | Side Doors, Net and Twine Boxes |
Quick Reference Specifications
| Specification | Value | Page |
|---|---|---|
| All models | ||
| Wheel bolts torque (except size listed below) | 156 N-m (115 ft-lb) | p. 48 |
| Wheel nuts torque (except size listed below) | 380 N-m (280 ft-lb) | p. 48 |
| PTO to gearbox input shaft | 142 N-m (105 lb ft) | p. 131 |
| 21.5L-16.1 tires | ||
| Wheel bolts torque, 21.5L-16.1 tires | 203 N-m (150 ft-lb) | p. 48 |
| BR7060, 540 PTO | ||
| Main drive shear bolt protection rating | 1350 N-m (995 lb ft) | p. 131 |
| All Models | ||
| Main drive slip clutch protection rating | 1020-1380 N-m (752-1018 lb ft) (BR7070, 540 PTO) / 1020-1380 N-m (752-1018 lb ft) (BR7080, 540 PTO) / 1190-1610 N-m (877-1157 lb ft) (BR7090, 540 PTO) / 850-1150 N-m (626-848 lb ft) (BR7090, 1000 PTO) | p. 131 |
| Bale width | 1182 mm (46.5 in) (4 ft x 5 ft, 4 ft x 6 ft) / 1562 mm (61.5 in) (5 ft x 5 ft, 5 ft x 6 ft) | p. 73 |
| Maximum bale diameter | 1524 mm (60 in) (4 ft x 5 ft, 5 ft x 5 ft) / 1828 mm (72 in) (4 ft x 6 ft, 5 ft x 6 ft) | p. 73 |
| Maximum bale weight | 544 kg (1199 lb) (4 ft x 5 ft Standard) / 816 kg (1799 lb) (4 ft x 5 ft Silage) / 862 kg (1900 lb) (4 ft x 6 ft Standard) / 910 kg (2006 lb) (4 ft x 6 ft Silage) / 703 kg (1550 lb) (5 ft x 5 ft Standard) / 998 kg (2200 lb) (5 ft x 6 ft) | p. 73 |
| All bale sizes | ||
| Maximum road speed (baler empty) | 32 km/h (20 mph) | p. 73 |
| Maximum field speed (bale in chamber) | 15 km/h (9 mph) | p. 73 |
| Belt width | 178 mm | p. 79 |
New Holland BR7060, BR7070, BR7080, BR7090 Common Problems This Manual Covers
Pickup or roll bearing running hot, grinding or seizing
The run-in check has you stop and inspect the baler for overheated bearings, so you catch one before it seizes. The Pickups section covers the standard, wide with stuffer, wide with rotor and Delta Special pickups. The Pressing section covers the starter roll, stationary roll, floor roll and belt rolls. When you replace the bearing, also check the housing and seals.
Manual Section: Pickups / Pressing p. 81Heavy PTO vibration or clicking from the CV joint
First make sure the tractor is running the PTO speed the baler is set up for, 540 or 1000. Then check the CV joint for wear and the gearbox input connection for looseness. The Implement Driveline section covers the PTO driveline and gearbox. The input shaft is torqued to 142 N-m (105 lb ft).
Manual Section: Implement Driveline p. 131Baler will not finish ejecting the bale
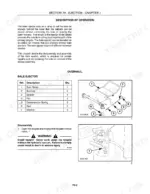
Rule out the simple causes first, such as crop jammed under the tailgate or around the ejector. Then check the bale ejector, which acts as a ramp to roll the bale far enough behind the baler for the tailgate to close. The Ejection section covers the bale ejector. Hydraulics covers the tailgate lift system, and Electrical Systems covers the harness and connectors.
Manual Section: Ejection / Hydraulics / Electrical Systems p. 1084Uneven bales, pickup plugging or crop left in the windrow
Walk the pickup and count broken or missing teeth. Then check pickup height, which the Hydraulics section covers under Feeding/Pickup Lift. The book caps field speed at 15 km/h (9 mph) with a bale in the chamber, and slower often feeds better. The Pickups section covers each pickup type in detail.
Manual Section: Pickups / Hydraulics p. 73Frequently Asked Questions
How do I get the Bale Command Plus into diagnostic mode?
Press and hold the OPEN BOOK symbol key for two seconds. That puts the controller into setup/diagnostic mode, so you can check sensor inputs before you start pulling wires. The Electrical Systems section covers the controller, harness connectors and Auto Wrap circuits, so you can trace a fault from the screen back to the plug. p. 415
Why does the net stop feeding or the bale refuse to wrap?
Check the net actuator first. If it sits out of its home or pre-cut position for 10 seconds or more, the controller shows an ERROR. A failed net actuator position potentiometer gives the same warning. So does a wrap counter sensor set at the wrong gap from its magnet. The Wrapping section covers the net wrapper mechanicals, and Electrical Systems covers the Auto Wrap sensors and wiring. p. 465
What torque values does the manual give for the driveline and wheels?
The PTO to gearbox input shaft takes 142 N-m (105 lb ft). Wheel bolts are 156 N-m (115 ft-lb) and wheel nuts are 380 N-m (280 ft-lb), apart from sizes listed separately. The main drive shear bolt on a BR7060 with 540 PTO is 1350 N-m (995 lb ft). A BR7090 on 1000 PTO uses a slip clutch set at 850-1150 N-m (626-848 lb ft). General Information has the standard hardware torque charts for the rest. p. 131
How do I fix belt slipping or tracking problems?
Check tension first. The Hydraulics section covers the belt tension system. The Pressing section covers the take up arm, the belts and every roll they run on. A worn roll bearing or crop wrapped on a roll will walk a belt off center fast. The belts are 178 mm wide, so you can confirm you are ordering the right replacement. p. 787
Why won't the tailgate lift, or why does it creep down?
Start at the tractor, because low flow or pressure from the remote makes the tailgate open slowly. If pressure is good, check for a restriction in the line, a lockout valve out of adjustment or worn cylinder seals. If it creeps down, check the lockout valve, which should hold the tailgate open. The Hydraulics section covers the tailgate lift system. The Frame section covers the tailgate assembly and how to adjust it. p. 232






Reviews
There are no reviews yet.