Part of the Yanmar Repair Manuals.
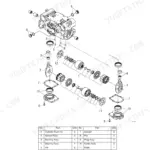
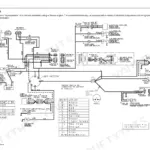
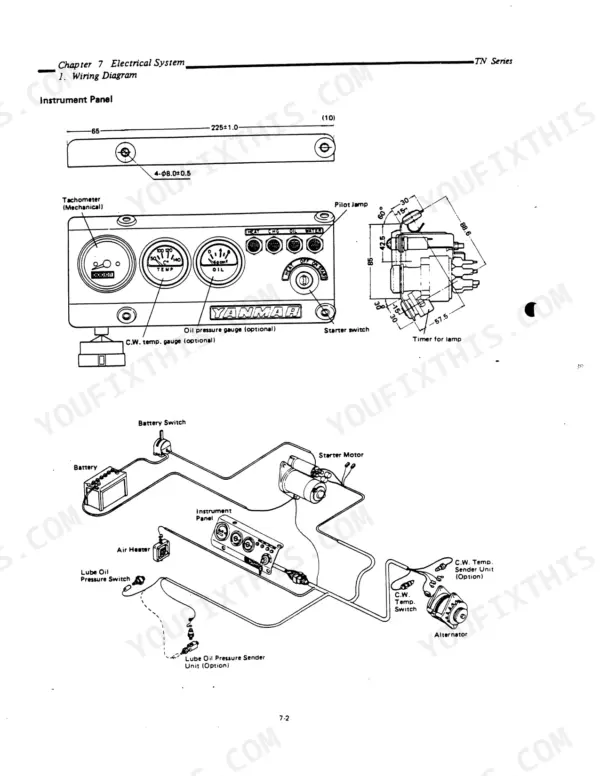
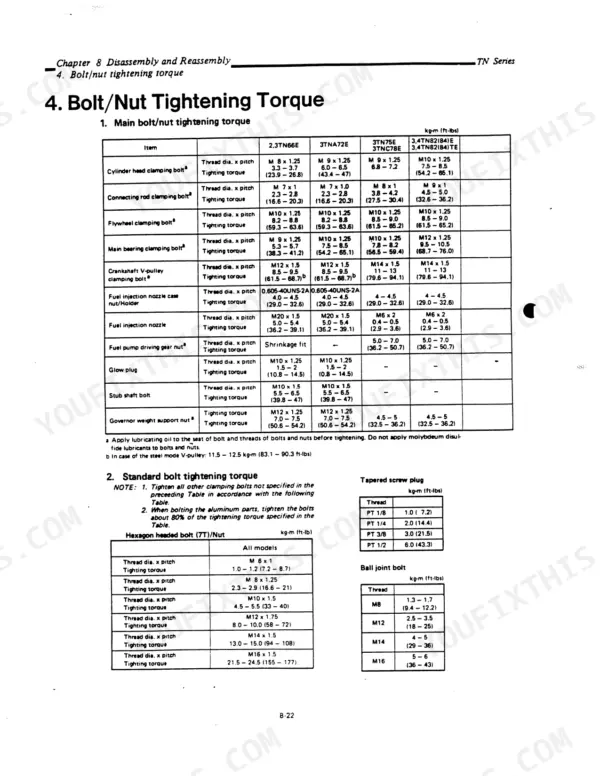
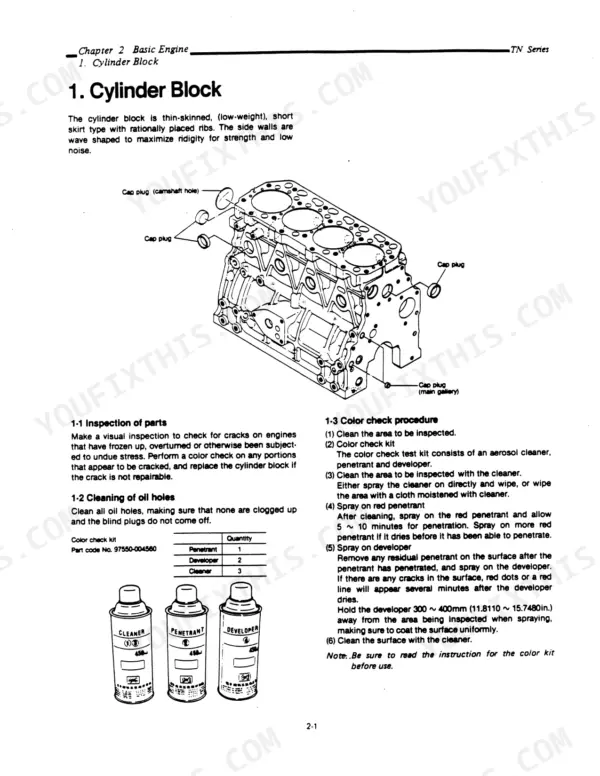
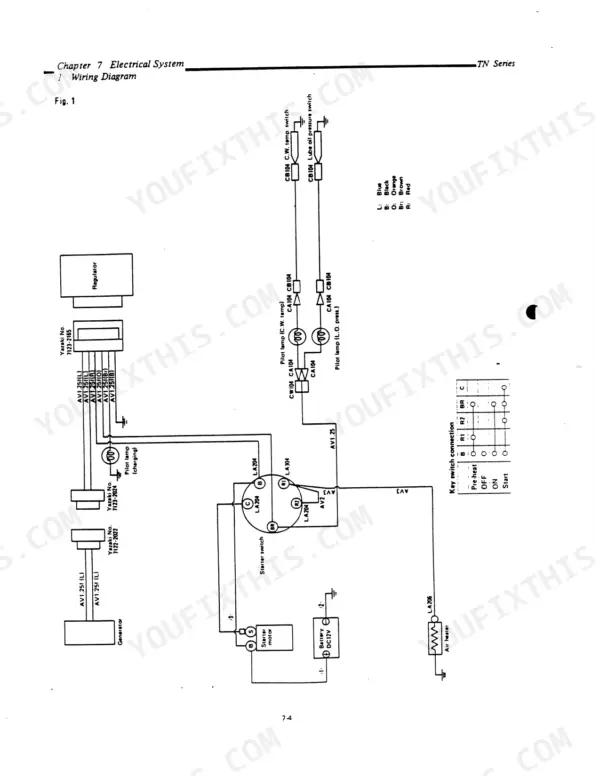
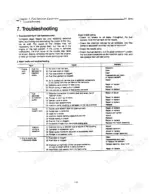
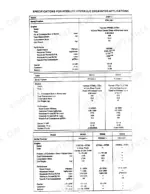
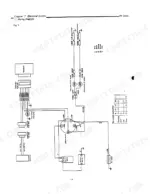
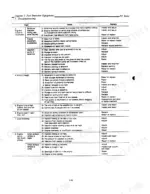
Walking 13 Yanmar TN series diesel variants, 2TN66E through 4TN84TE, through disassembly, inspection and reassembly, this Yanmar 2TN66E service manual PDF runs 274 pages under OEM ID AOC1752-8905-KAI-00. Wiring diagrams in the electrical chapter trace the starter motor and charging equipment circuits, while the fuel injection chapter strips the governor and injection pump down for inspection. Cylinder block, cylinder head, lube oil pump, oil pressure control valve, thermostat, cooling water pump and turbocharger each get their own coverage, and the disassembly and reassembly chapter carries a bolt and nut tightening torque table plus troubleshooting. Plunger top clearance holds at 1.0 ± 0.05 mm. Injectors should open at 165 to 175 kg/cm² (2346.85 to 2489.08 lb/in²). For your cylinder head refit, the clamping bolts take 3.3 to 3.7 kg-m (23.9 to 26.8 ft-lbs). Text-searchable and bookmarked by chapter, the PDF travels with you to wherever the engine sits, keeping plunger clearance and delivery retainer torque one search away.
What's Inside This Yanmar 2TN66E–4TN84TE Manual
| System | Pages | Key Topics |
|---|---|---|
| General Information | 1-39 | Specifications, External Views, Performance Curves |
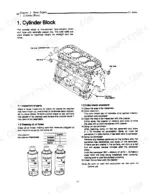
| Basic Engine | 40-79 | Cylinder Block, Cylinder Head |
| Fuel Injection Equipment | 80-149 | Fuel Supply System, Governor Disassembly and Inspection, Fuel Injection Pump Disassembly and Inspection |
| Lubricating System | 150-163 | Lubrication System, Lube Oil Pump, Lube Oil Filter, Oil Pressure Control Valve, Piston Cooling Nozzle |
| Cooling System | 164-173 | Radiator, Radiator Fan Belt, Thermostat, Cooling Water Pump |
| Air Induction System | 174-191 | Turbocharger |
| Electrical System | 192-239 | Wiring Diagrams, Starter Motor, Charging Equipment |
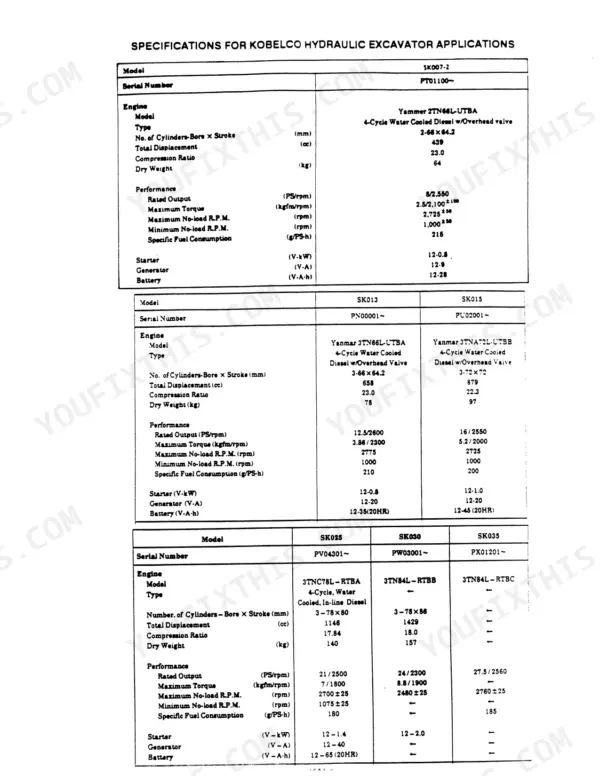
| Disassembly and Reassembly | 240-274 | Disassembly and Reassembly Precautions, Disassembly and Reassembly Tools, Bolt/Nut Tightening Torque, Troubleshooting, Identification of Parts for Each Application |
Quick Reference Specifications
| Specification | Value | Page |
|---|---|---|
| All Models | ||
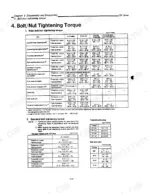
| Cylinder head clamping bolt tightening torque | 3.3 - 3.7 kg-m (23.9 - 26.8 ft-lbs) | p. 264 |
| Delivery retainer tightening torque | 3.5 ~ 4.0 kg-m (25.31 ~ 28.93 ft-lb) | p. 123 |
| Plunger top clearance | 1.0 ± 0.05 mm (0.0374 ~ 0.0398 in.) | p. 123 |
| Injection starting pressure | 165 ~ 175 kg/cm² (2346.85 ~ 2489.08 lb/in.²) | p. 121 |
| Oil filter replacement period | Every 300 hours of engine operation | p. 158 |
| Bypass valve regulating pressure | 0.8 - 1.2 kg/cm² (11.38 - 17.06 lb/in²) | p. 157 |
| Air cleaner element replacement interval (dusty area) | 250 hours | p. 176 |
| Glow plug resistance | 1.35 Ω - 1.65 Ω | p. 235 |
| 2TN66E, 3TNA72E | ||
| Glow plug tightening torque | 1.5 - 2 kg-m (10.8 - 14.5 ft-lbs) | p. 264 |
| 2TN66E, 3TN66E, 3TNA72E, 3TN75E | ||
| Cylinder Head Distortion Wear Limit | 0.15 mm (0.006 in.) | p. 71 |
| 3TNC78E, 3TN82E, 3TN82TE, 4TN82E, 4TN82TE, 3TN84E, 3TN84TE, 4TN84E, 4TN84TE | ||
| Cylinder Head Distortion Wear Limit | 0.15 mm (0.006 in.) | p. 72 |
| 3TN66E | ||
| Cylinder Head Bolt Tightening Torque (Final) | 3.3-3.7 kg-m (23.87-26.76 ft-lb) | p. 71 |
Yanmar 2TN66E–4TN84TE Common Problems This Manual Covers
Yanmar TN engine won't start with no fuel delivered to the injection pump
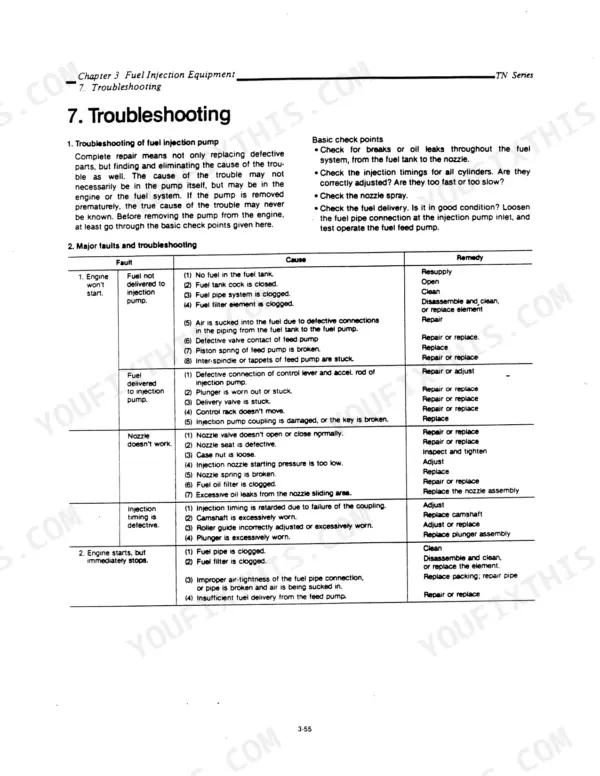
Check the fuel system from tank to nozzle for breaks or leaks before pulling the injection pump; page 138 warns that removing it prematurely can hide the true cause. Verify the tank cock is open, clean clogged fuel pipes, and clean or replace the filter element. Loosen the pipe at the pump inlet, operate the feed pump, and repair air-leaking connections or replace a weak feed pump.
Manual Section: Fuel Injection Pump Troubleshooting p. 138Loud engine knocking with fuel dripping from the injection nozzle after each injection
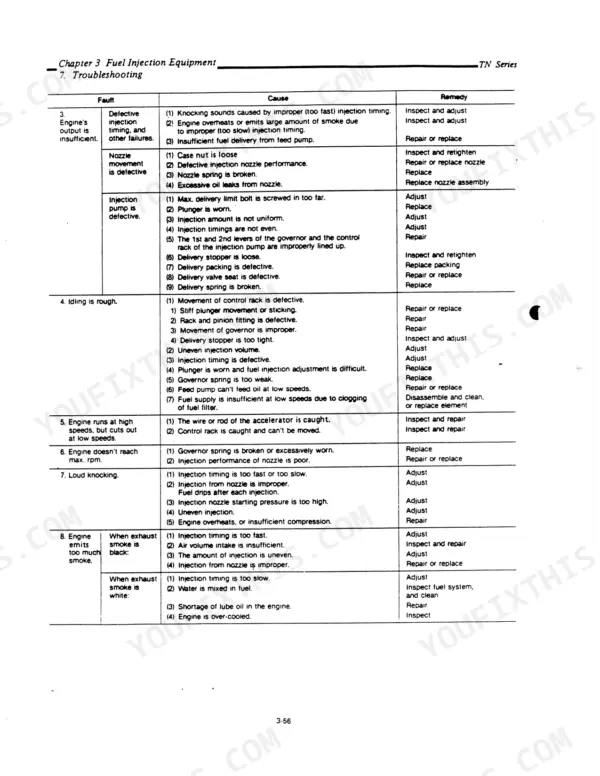
Check injection timing on every cylinder first; the chart on page 139 lists timing too fast or too slow as the first knocking cause. Test the nozzle spray and adjust injection starting pressure against the value on page 121, since pressure set too high also knocks. Correct uneven injection, and if knocking persists, check for overheating or insufficient compression.
Manual Section: Engine Output Troubleshooting p. 139Fuel injection pump control rack sticking and engine idling rough at low speed
Check control rack movement first: stiff or sticking plunger, poor rack and pinion fit, improper governor movement, or an overtight delivery stopper, all listed on page 139. Adjust uneven injection volume and timing, replace a weak governor spring or worn plunger, and clean or replace a clogged fuel filter element. Do not loosen the adjust screw or adjust plate fixing bolt; page 113 warns fuel output testing then requires a pump tester stand.
Manual Section: Engine Output Troubleshooting p. 139Air cleaner element restricting intake air volume and engine emitting black exhaust smoke
Inspect the air cleaner element and clean it with compressed air at no more than 2 kgf/cm² (28 psi); page 176 warns higher pressure breaks the element. Verify the clearance between body and element periphery is 1 mm or less per page 177, and never start the engine with the element removed. If smoke stays black, check for injection timing set too fast and uneven injection on page 139.
Manual Section: Air Induction System p. 176Hard starting with glow plugs on the preheat circuit reading out of resistance spec
Measure each glow plug's resistance and replace any plug outside 1.35 to 1.65 Ω, per page 235. Trace the pre-heat circuit from the starter switch through the pilot lamp to the plugs, one per cylinder. During testing, do not heat the glow plugs continuously; page 234 warns they will burn out.
Manual Section: Electrical System p. 235Starter pinion engages the ring gear but the starter motor fails to rotate
Check battery charge and terminals for corrosion first; the battery holds sulfuric acid, so keep it off skin and eyes per page 236. Retighten or repair the wires between battery and magnetic switch and the ground connections, then inspect brushes, commutator, armature and field coil following page 220. Replace worn brushes and pitted contactor contacts, repair a dirty commutator, and remount a faulty motor mounting.
Manual Section: Starter Motor Troubleshooting p. 220Frequently Asked Questions
What are the torque specifications for the cylinder-head bolts on the Yanmar TN-series engines?
The cylinder-head bolt tightening torque varies by engine model. For the 2,3TN66E, the first stage is 1.6–1.9 kg-m (11.57–13.74 ft-lb) and the final stage is 3.3–3.7 kg-m (23.87–26.76 ft-lb). For the 3TNA72E, the first stage is 3.0–3.3 kg-m (21.69–23.88 ft-lb) and the final stage is 6.0–6.5 kg-m (43.38–47.00 ft-lb). p. 71
What are the replacement specifications for the fuel filter element on Yanmar TN series diesel engines?
The fuel filter element should be replaced every 500 service hours, or sooner if it is stained or broken. The inside of the filter should be cleaned every 300 service hours, with the first cleaning performed at 100 hours. p. 142
What are the replacement specifications for the air cleaner element on a Yanmar TN series diesel engine?
The air cleaner element should be replaced every 250 hours of operation in dusty areas, every 500 hours in relatively dust-free areas, or yearly, whichever comes first. If the engine is operated in a dusty area, the element should be cleaned every 50 hours. p. 176
What is the standard intake and exhaust valve clearance for Yanmar TN-series engines?
The standard intake and exhaust valve clearance for these engines is 0.2 mm (0.0079 in). p. 53
What is the standard fan belt tension for Yanmar TN-series engines?
The fan belt tension should be adjusted so that there is a deflection of 10–15 mm (0.4–0.6 in) when pressed hard with the fingers. p. 167
How quickly can I access this Yanmar 2TN66E manual after buying?
Immediate download of the complete 274-page searchable Service Manual. Access it on any device, from a laptop at your desk to a phone in the field.
Can I print just the pages I need from this Yanmar 2TN66E manual?
Yes. Print the pages you need for the job in your own shop, and bin them when they get greasy.