



Part of the John Deere Repair Manuals.
John Deere publication TM1621, the factory repair manual for the 8000T and 8010T series rubber-track tractors - 8100T, 8200T, 8300T and 8400T plus the 8110T, 8210T, 8310T and 8410T - 1,380 pages.
General information and dealer predelivery open it, then engine, the diesel fuel and cooling systems, a large electrical section, the transmission in three parts (component removal and installation, miscellaneous repair, then troubleshooting, specifications and disassembly), drive systems with the rear axle, steering and brakes, hydraulics from the tandem pump onward, the track frame and its components, the operator station with cab removal and HVAC, and the dealer-fabricated tools. Because these are TRACK tractors the book carries a dedicated Track Frame and Components section - tracks, detensioning and tensioning, mid-rollers and idlers - that a wheeled 8000 manual does not.
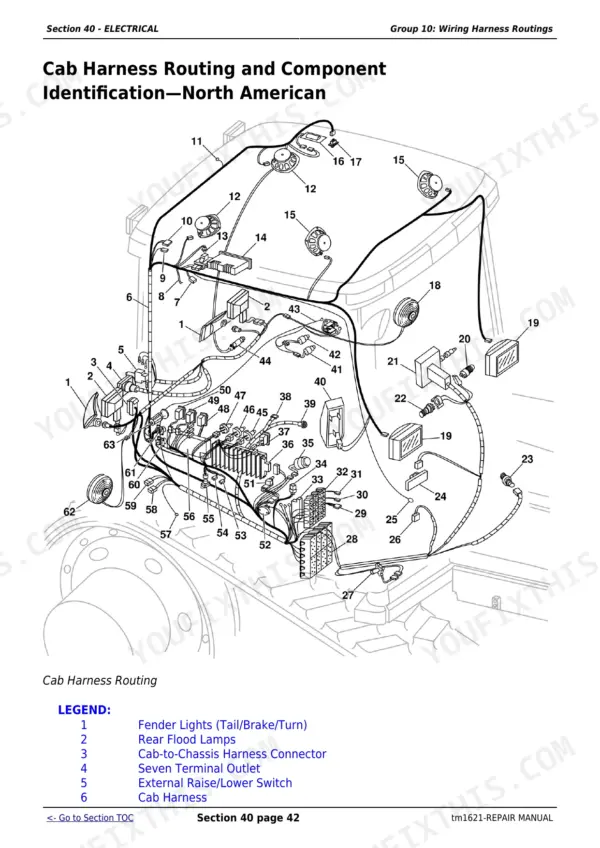
On wiring, precisely: Section 40 Group 10 is 'Wiring Harness Routings' - physical routing drawings for the cab, roof, main chassis, pump drive housing and transmission harnesses, each paired with a numbered list identifying every connector, from the beacon light and cab-to-roof connectors through the radar and wheel-speed sensors to the instrument control unit, the GreenStar connectors and the CAN terminating connector. That tells you where each connector physically sits; it is not a circuit schematic.
What's Inside This Repair Manual
| System | Pages | Key Topics |
|---|---|---|
| General Information | 1-34 | Safety, Recognize Safety Information, Handle Fluids Safely-Avoid Fires, Prevent Battery Explosions, Prepare for Emergencies, Prevent Acid Burns |
| Engine | 35-56 | Component Removal and Installation, Essential or Recommended Tools, Specifications, Remove Engine, Install Engine, Remove Front Frame |
| Fuel and Cooling Systems | 57-95 | Diesel Fuel System, Remove and Install Fuel Fill Tank, Remove and Install Main Fuel Tank, Replace Fuel Filter, Fuel Pump, And Bleed Fuel System, Air Intake System, Service Air Intake System |
| Electrical | 96-286 | Connectors, Other Material, Use Electrical Insulating Compound, Using High-Pressure Washers, Repair Weather Pack Weather Pack Is a Trademark of Packa, Remove Connector Body From Blade Terminals |
| Transmission - Component Removal and Installation | 287-316 | Remove Transmission, Install Transmission, Remove Scavenge Pump, Install Scavenge Pump, Remove Ground-Driven Pump, Install Ground-Driven Pump |
| Transmission - Miscellaneous Repair | 317-345 | Disengage Park Brake, Replace Transmission Input Shaft Front Seal, Replace Auxiliary Drive Pulley, Replace Transmission Input Shaft Rear Seal- Transmission, Repair Clutch Pedal, Replace Clutch Cable |
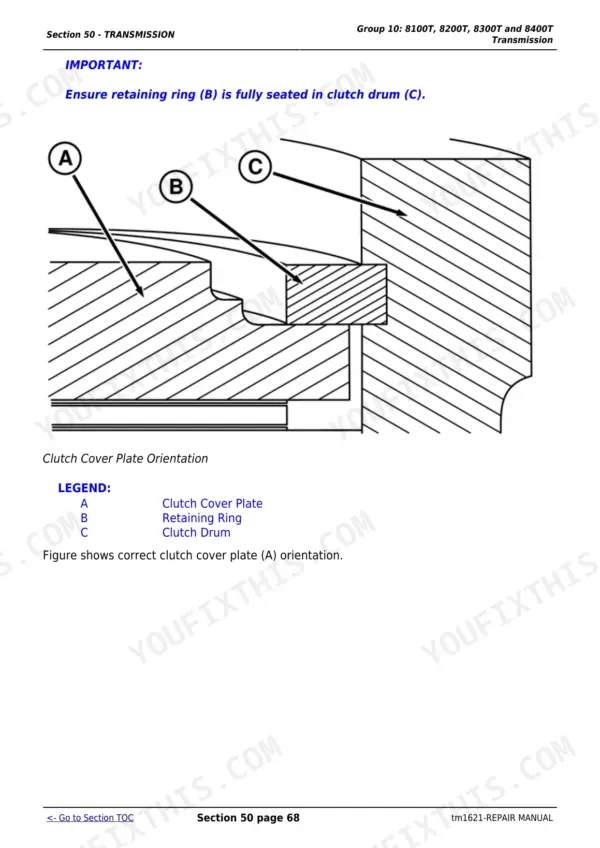
| Transmission - Troubleshooting, Specifications & Disassembly | 346-593 | 8100T, 8200T, 8300T and 8400T Transmission, General Repair Procedures-Power Shift Transmission, Clutch Cover Plate Orientation, Install Transmission in Repair Stand, Cross-Sectional View-Transmission Assembly, Disassemble Transmission |
| Drive Systems | 594-802 | Remove Rear Axle Assembly, Install Rear Axle Assembly, Remove Outboard Planetary Final Drive Assembly, Install Outboard Planetary Final Drive Assembly, Rear Axle Assembly, Install Pump Drive Housing Oil Baffle Screen |
| Steering and Brakes | 803-948 | Install Hydraulic Fittings, Remove and Install Steering Pump, Flush Steering System, Remove and Install Steering Motor, Steering Column, Repair Steering Column |
| Hydraulics | 949-1130 | Remove and Install Tandem Pump, Remove and Install Secondary Pump, Remove and Install Hitch-SCV Valve Stack, Hydraulic System Repair and Cleanup, General Repair Procedures-Hydraulic Systems, Repair SCV Pressure Circuit Fittings |
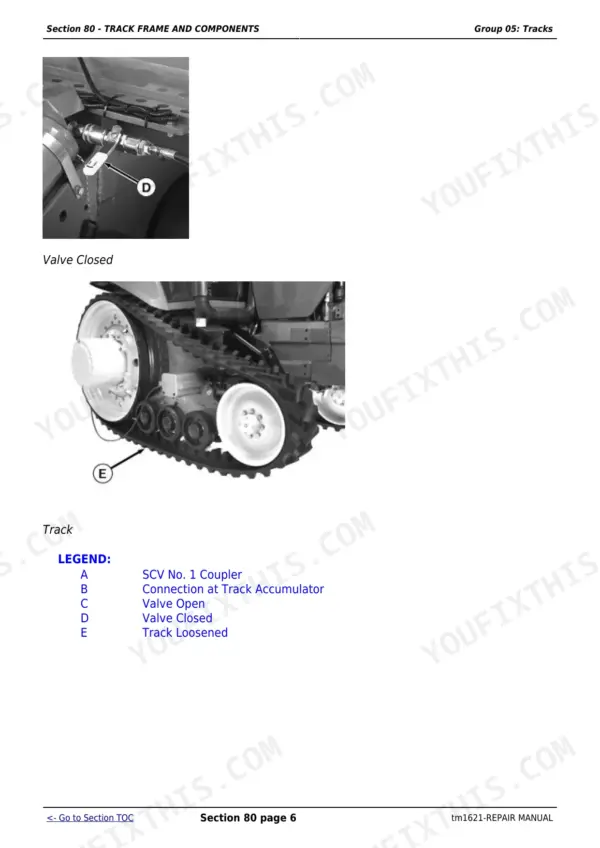
| Track Frame and Components | 1131-1198 | Tracks, Detension and Tension the Track, Align the Track, Adjust Track Tread Settings, Service Rear Wheel, Remove and Install Track |
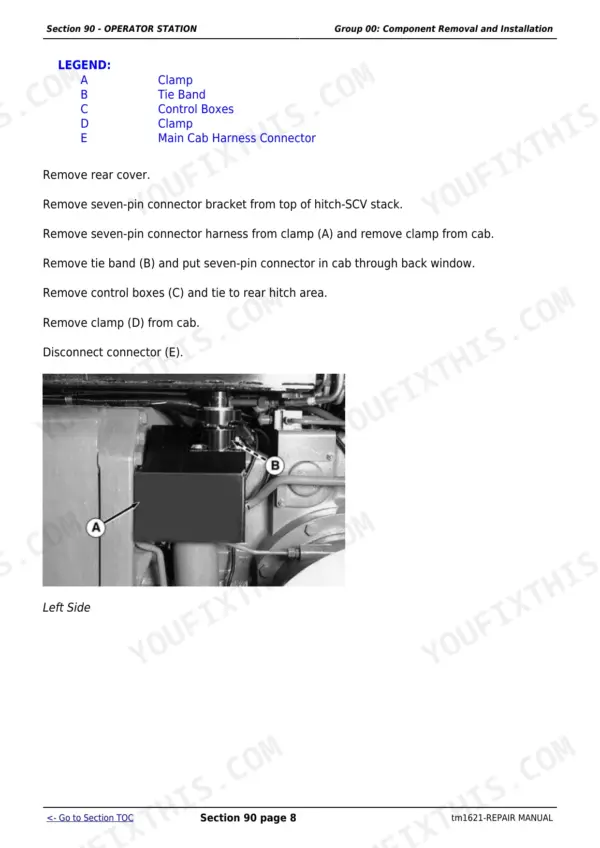
| Operator Station | 1199-1354 | Remove Cab, Install Cab, Heating, Ventilating and Air Conditioning-(HVAC), Heater Line Routing, Remove HVAC Module, Install HVAC Module |
| Dealer Fabricated Tools | 1355-1380 | DFRW2-Needle Valve Test Hose Assembly, DFRW7-Differential Lifting Tool, DFRW20-Compressor Holding Fixture, DFRW63 - DFRW64 - DFRW65 - DFRW66 - DFRW81-Tap-Out Harne, DFRW90-Transmission Support Plate Tool May Be Purchased., DFRW91-Transmission Rear Cover and Manifold Guide Pins T |