Part of the New Holland Operator Manuals.
Written for five New Holland tractors from the TD5010 up to the TD5050, this 260-page operator guide carries OEM number 47376882. Controls chapters in this New Holland TD5050 operator manual PDF explain the instrument panel, shuttle, power shuttle and creeper transmissions, differential lock, PTO, Cat. II three-point linkage, remote valves and ballasting. Servicing runs from the 10-hour daily check to the 1200-hour interval, with lubricant capacities and troubleshooting charts for engine, electrical, hydraulic, linkage, brake and cab faults. Set the clutch pedal distance to 35-40 mm (1.4-1.6 in). Separately, turn the hexagon sleeves until brake pedal free travel is 5 mm. Kick-out valves leave the factory at 120(+10/-0) bar. When a warning light comes on, your first stop is the maintenance chapter's warning light guide, then the matching troubleshooting chart. A bookmark takes you straight to the PTO chapter.
What's Inside This New Holland TD5010–TD5050 Series Operator Manual
| System | Pages | Key Topics |
|---|---|---|
| CE Declaration of Conformity Document | 5 | EC Declaration of Conformity, Directive 2006/42/EC, Manufacturer Declaration, Equipment Compliance, Harmonised Standards |
| Health and Safety Related Standards Applied to Your Tractor | 6-12 | Falling Object Protection System, HVAC Cab, EN 15695-1, OECD Code 10 |
| Introduction and Safety Measures | 13-56 | To the Owner, Tractor Identification, Ecology and the Environment, Safety Messages Used in This Manual, Working Safely, Safety Decals, Safety Covers and Guards |
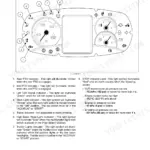
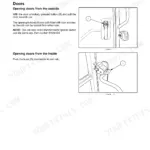
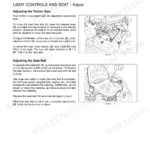
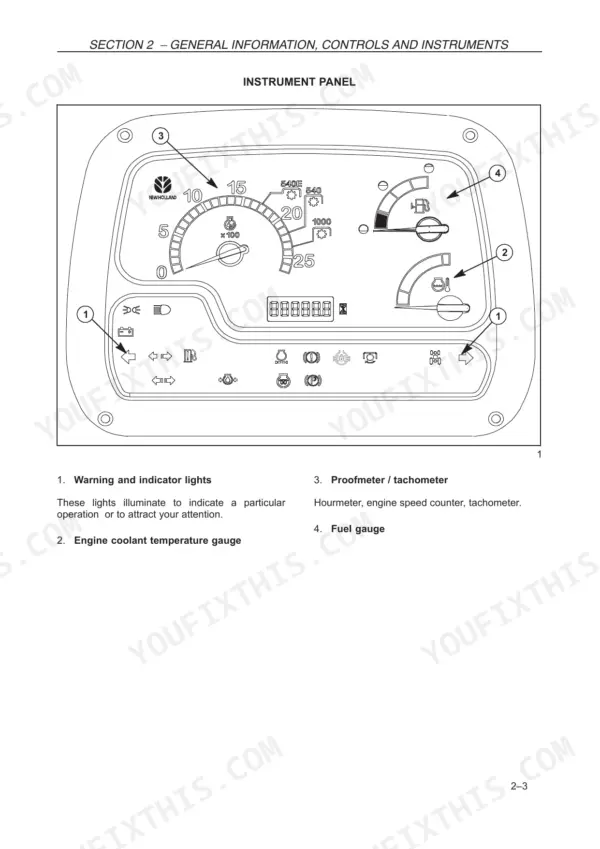
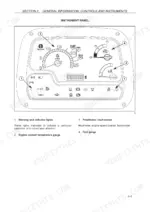
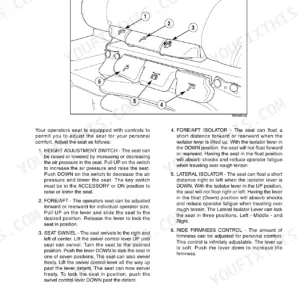
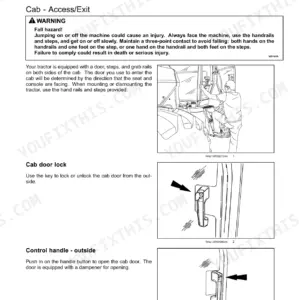
| General Information, Controls and Instruments | 57-104 | Controls and Instruments, Instrument Panel, Instrument Console Controls, Right-Hand Side Operating Controls, Left-Hand Side Operating Controls, Cab Controls, Seats, Cab |
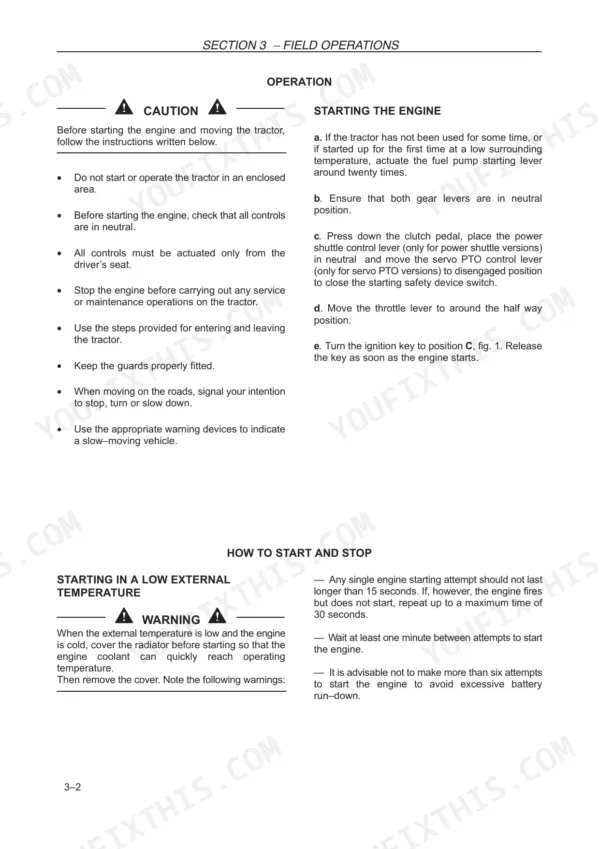
| Field Operations | 105-164 | Starting with Thermostart the Engine, Power Take-Off, Hydraulic Lift, Three-Point Linkage Cat. II, Remote Control Valves, Wheel Track Adjustment, Tyres, Tyre Combinations |
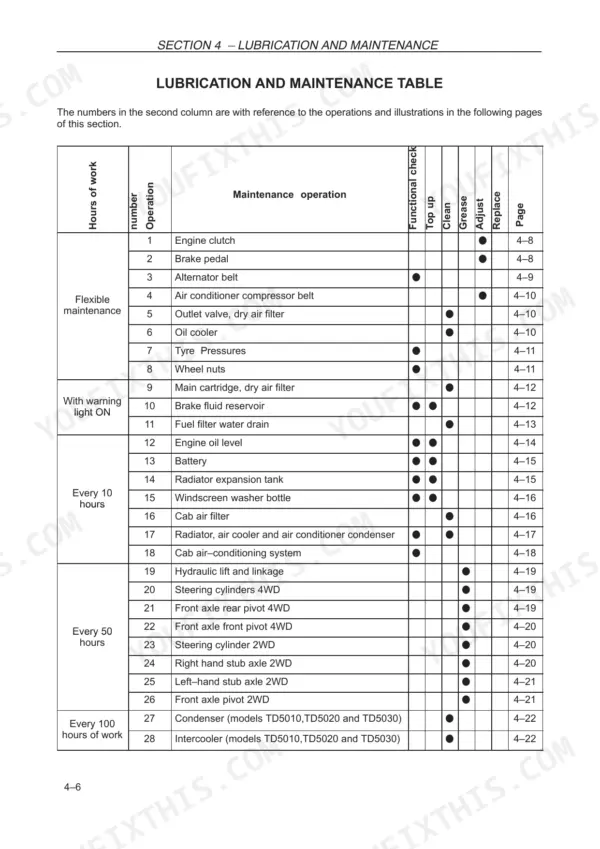
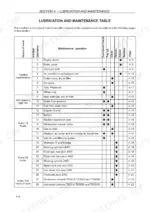
| Lubrication and Maintenance | 165-214 | Access for Inspection and Maintenance, Lubrication and Maintenance Table, Flexible Maintenance, When the Warning Light Is on, 10-Hour / Daily Service, 50-Hour Service |
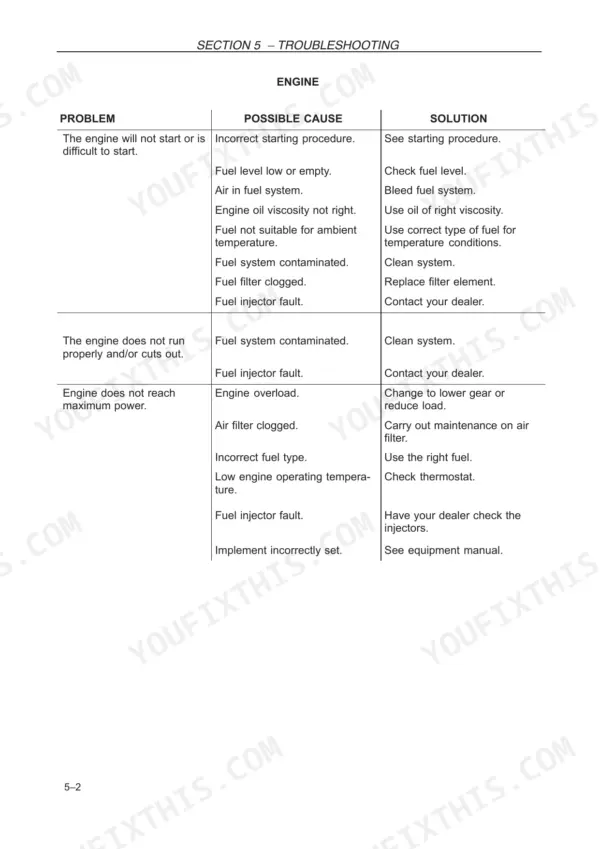
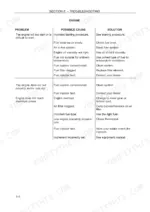
| Troubleshooting | 215-222 | Introduction, Engine, Electrical System, Hydraulic System, Three-Point Linkage, Brakes, Cab |
| Vehicle Storage | 223-224 | Engine Protection, Fuel Tank, Battery, Tyre Pressure, Protective Cover |
| Accessories | 225-236 | Beacon Lamp, Drawbars and Towing Attachments, Hydralic Trailer Brake |
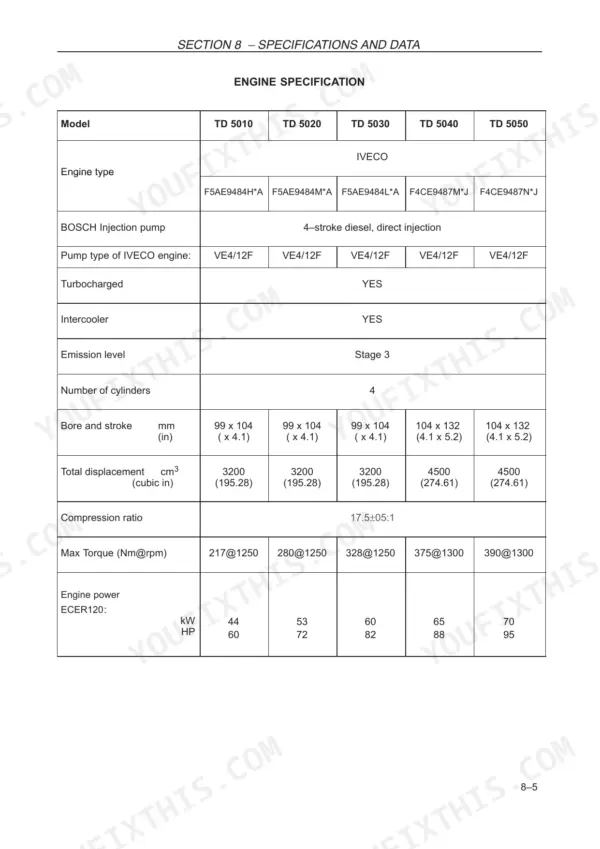
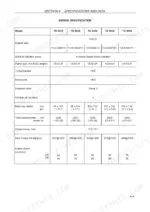
| Specifications and Data | 237-250 | Weights, Engine Specifications, Timing, Fuel System, Lubrication, Cooling System, Transmission, Power Take-Off |
| First 50-Hour Service Forms | 251-254 | Non-Functional Inspections, Operational Inspections, Functional Inspections, Safety Equipment Inspections |
Quick Reference Specifications
| Specification | Value | Page |
|---|---|---|
| Kick-out valve pressure | 120(+10/-0) bar | p. 137 |
| Battery capacity | 120 Ah | p. 179 |
| Clutch pedal travel | 35-40 mm (1.4-1.6 in) | p. 172 |
| Brake pedal free travel | 5 mm | p. 173 |
| Fuel filter cartridge tightening torque | 15 Nm | p. 194 |
| Thermostat opening temperature | 79 ± 2 °C | p. 199 |
| Thermostat fully open temperature | 94 °C | p. 199 |
| Battery charging current | 5 Amp | p. 205 |
New Holland TD5010–TD5050 Series Common Problems This Manual Covers
Engine overheating under load with the coolant temperature gauge reading high
Clean the radiator core, top up coolant in the expansion tank, and check the system for leaks. Tighten any leaking hose connectors. Check the fan belt tensioning device and replace a worn belt. Replace a defective radiator cap. Check the thermostat, which starts opening at 79 ± 2 °C (page 199). If the load is heavy, drop to a lower gear. Contact your dealer if the gauge itself is faulty.
Manual Section: Engine Troubleshooting p. 217Battery charge warning light on the instrument panel stays lit while the engine is running
Increase idling speed first, because a low idle can keep the lamp lit. Check the alternator belt tensioning device, then clean and tighten the battery terminals. Check electrolyte level and specific gravity. Top up only with distilled water and never with sulphuric acid (page 205). If the lamp stays on, or flashes to show excessive charge voltage, have the alternator checked by your dealer, as page 219 directs.
Manual Section: Electrical System Troubleshooting p. 219Remote control valve does not work or hoses will not join properly when hooking up an implement
Switch off the engine and bleed the pressure before connecting or disconnecting lines. Never hunt for a leak by hand; use cardboard or paper (page 137). Connect the hoses correctly, then actuate the control levers to check oil flow at the half seals. If the problem persists, replace the male half seals with standard ISO parts from your dealer. Reduce load or use a suitable cylinder if the system is overloaded, per page 220.
Manual Section: Hydraulic System Troubleshooting p. 220Three-point linkage does not lift fully or lowers slowly when the control lever is moved
Adjust the link arm top limiter if the linkage stops short of full lift. If the linkage will not move at all, check that the linkage cylinder tubes are connected correctly and reduce the load. If lift is slow in draft control, adjust the mixed control and the implement settings. If lowering speed stays wrong, have the valves checked, following page 221.
Manual Section: Hydraulic Lift and 3-Point Linkage Troubleshooting p. 221Brake pedals feel soft or depress fully with the engine switched off
Check that service brake pedal free travel is equal on both pedals and does not exceed 80 mm, as page 172 specifies. A soft pedal points to air in the braking system. A pedal that goes fully down points to leaking piston seals, a leaking brake valve or brake release, or worn discs. For all of these, contact your dealer, as page 222 directs.
Manual Section: Brakes Troubleshooting p. 222Frequently Asked Questions
How do I bleed the fuel system after changing the fuel filter?
To bleed the fuel system, remove the retaining pin and disconnect the pipe from the filter head. Operate the priming lever (6) until fuel comes out of the filter with no air bubbles in it. Then, fit the pipe back on and secure it with the retaining pin. p. 203
What are the fuel filter replacement specifications for the New Holland TD5010-TD5050 Series tractor?
The fuel filter cartridge (1) should be replaced by unscrewing the drain plug (4) to drain the fuel, removing the cartridge, and fitting a new one. Lightly oil the seal, screw the new cartridge down into contact with the support, and tighten it by hand by 3/4 of a turn (15 Nm). p. 194
What is the engine oil capacity for the TD5040 and TD5050 models?
The engine oil capacity for the TD5040 and TD5050 models is 10.0 liters (2.64 US gal). p. 213
How do you fix a New Holland TD5010–TD5050 tractor engine that turns over but will not start or is very difficult to start?
Check fuel level, confirm you followed the starting procedure, and make sure the fuel suits the ambient temperature, as the chart on page 216 lists. Bleed the fuel system if air got in. Replace a clogged filter element: lightly oil the seal and hand tighten 3/4 turn (15 Nm) per page 194. If an injector is at fault, contact your dealer. p. 216
Is this New Holland TD5010–TD5050 Series manual a PDF I download?
Immediate download of the complete 260-page searchable Operator Manual. Access it on any device, from a laptop at your desk to a phone in the field.
Can I print just the pages I need from this New Holland manual?
Yes. Printing works from any reader and any printer, for your own shop use.